I don’t know about you, but I’ve never met a Mason Jar I didn’t like…
Pouring over the pages of home decorating magazines and the pages of Pinterest, Apothecary jars have always caught my eye. I was determined that I would finally commit the time to make my own, with a twist. Why not combine my love of Apothecary and Mason jars?
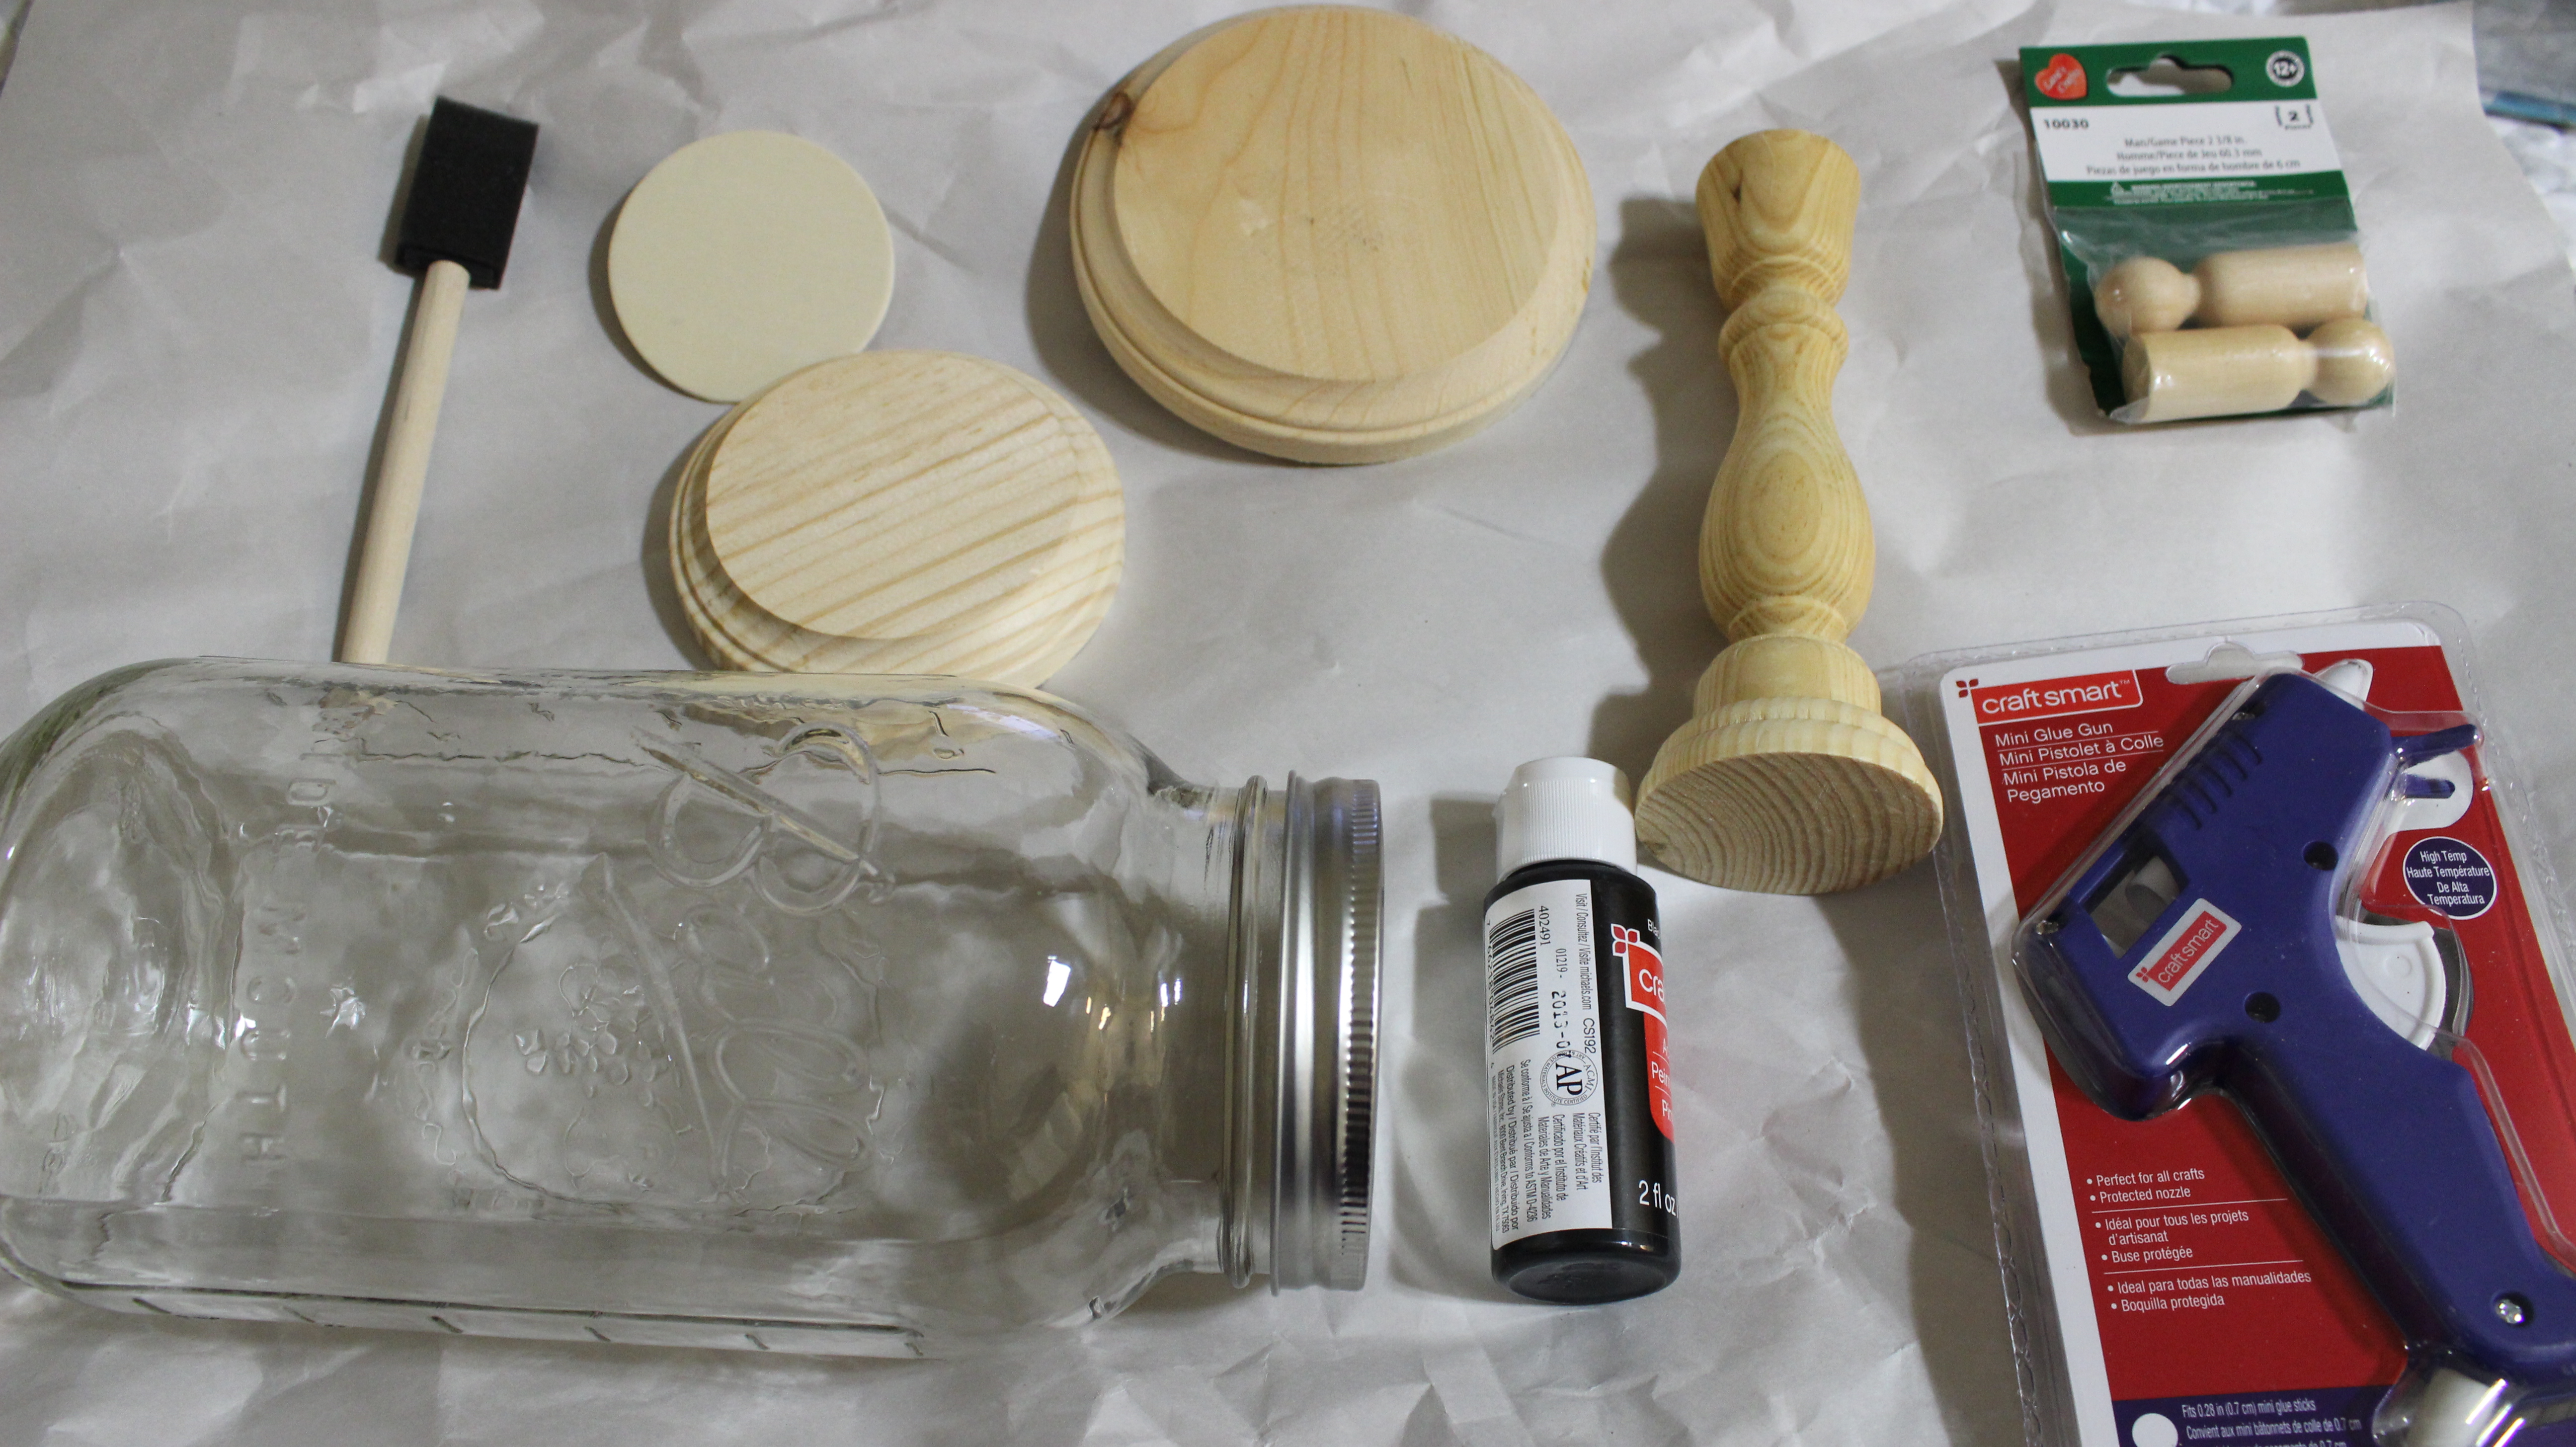
All you need to create your very own Apothecary Mason Jar is:
- A large Mason jar
- Wooden candlestick at your desired height
- Two wood circular bases, one large one medium
- One small, flat wooden circle
- Wooden topper – I used wooden game pieces, but you can choose whichever shape and size fills your desire
- Hot glue gun
- Paint
Step 1:
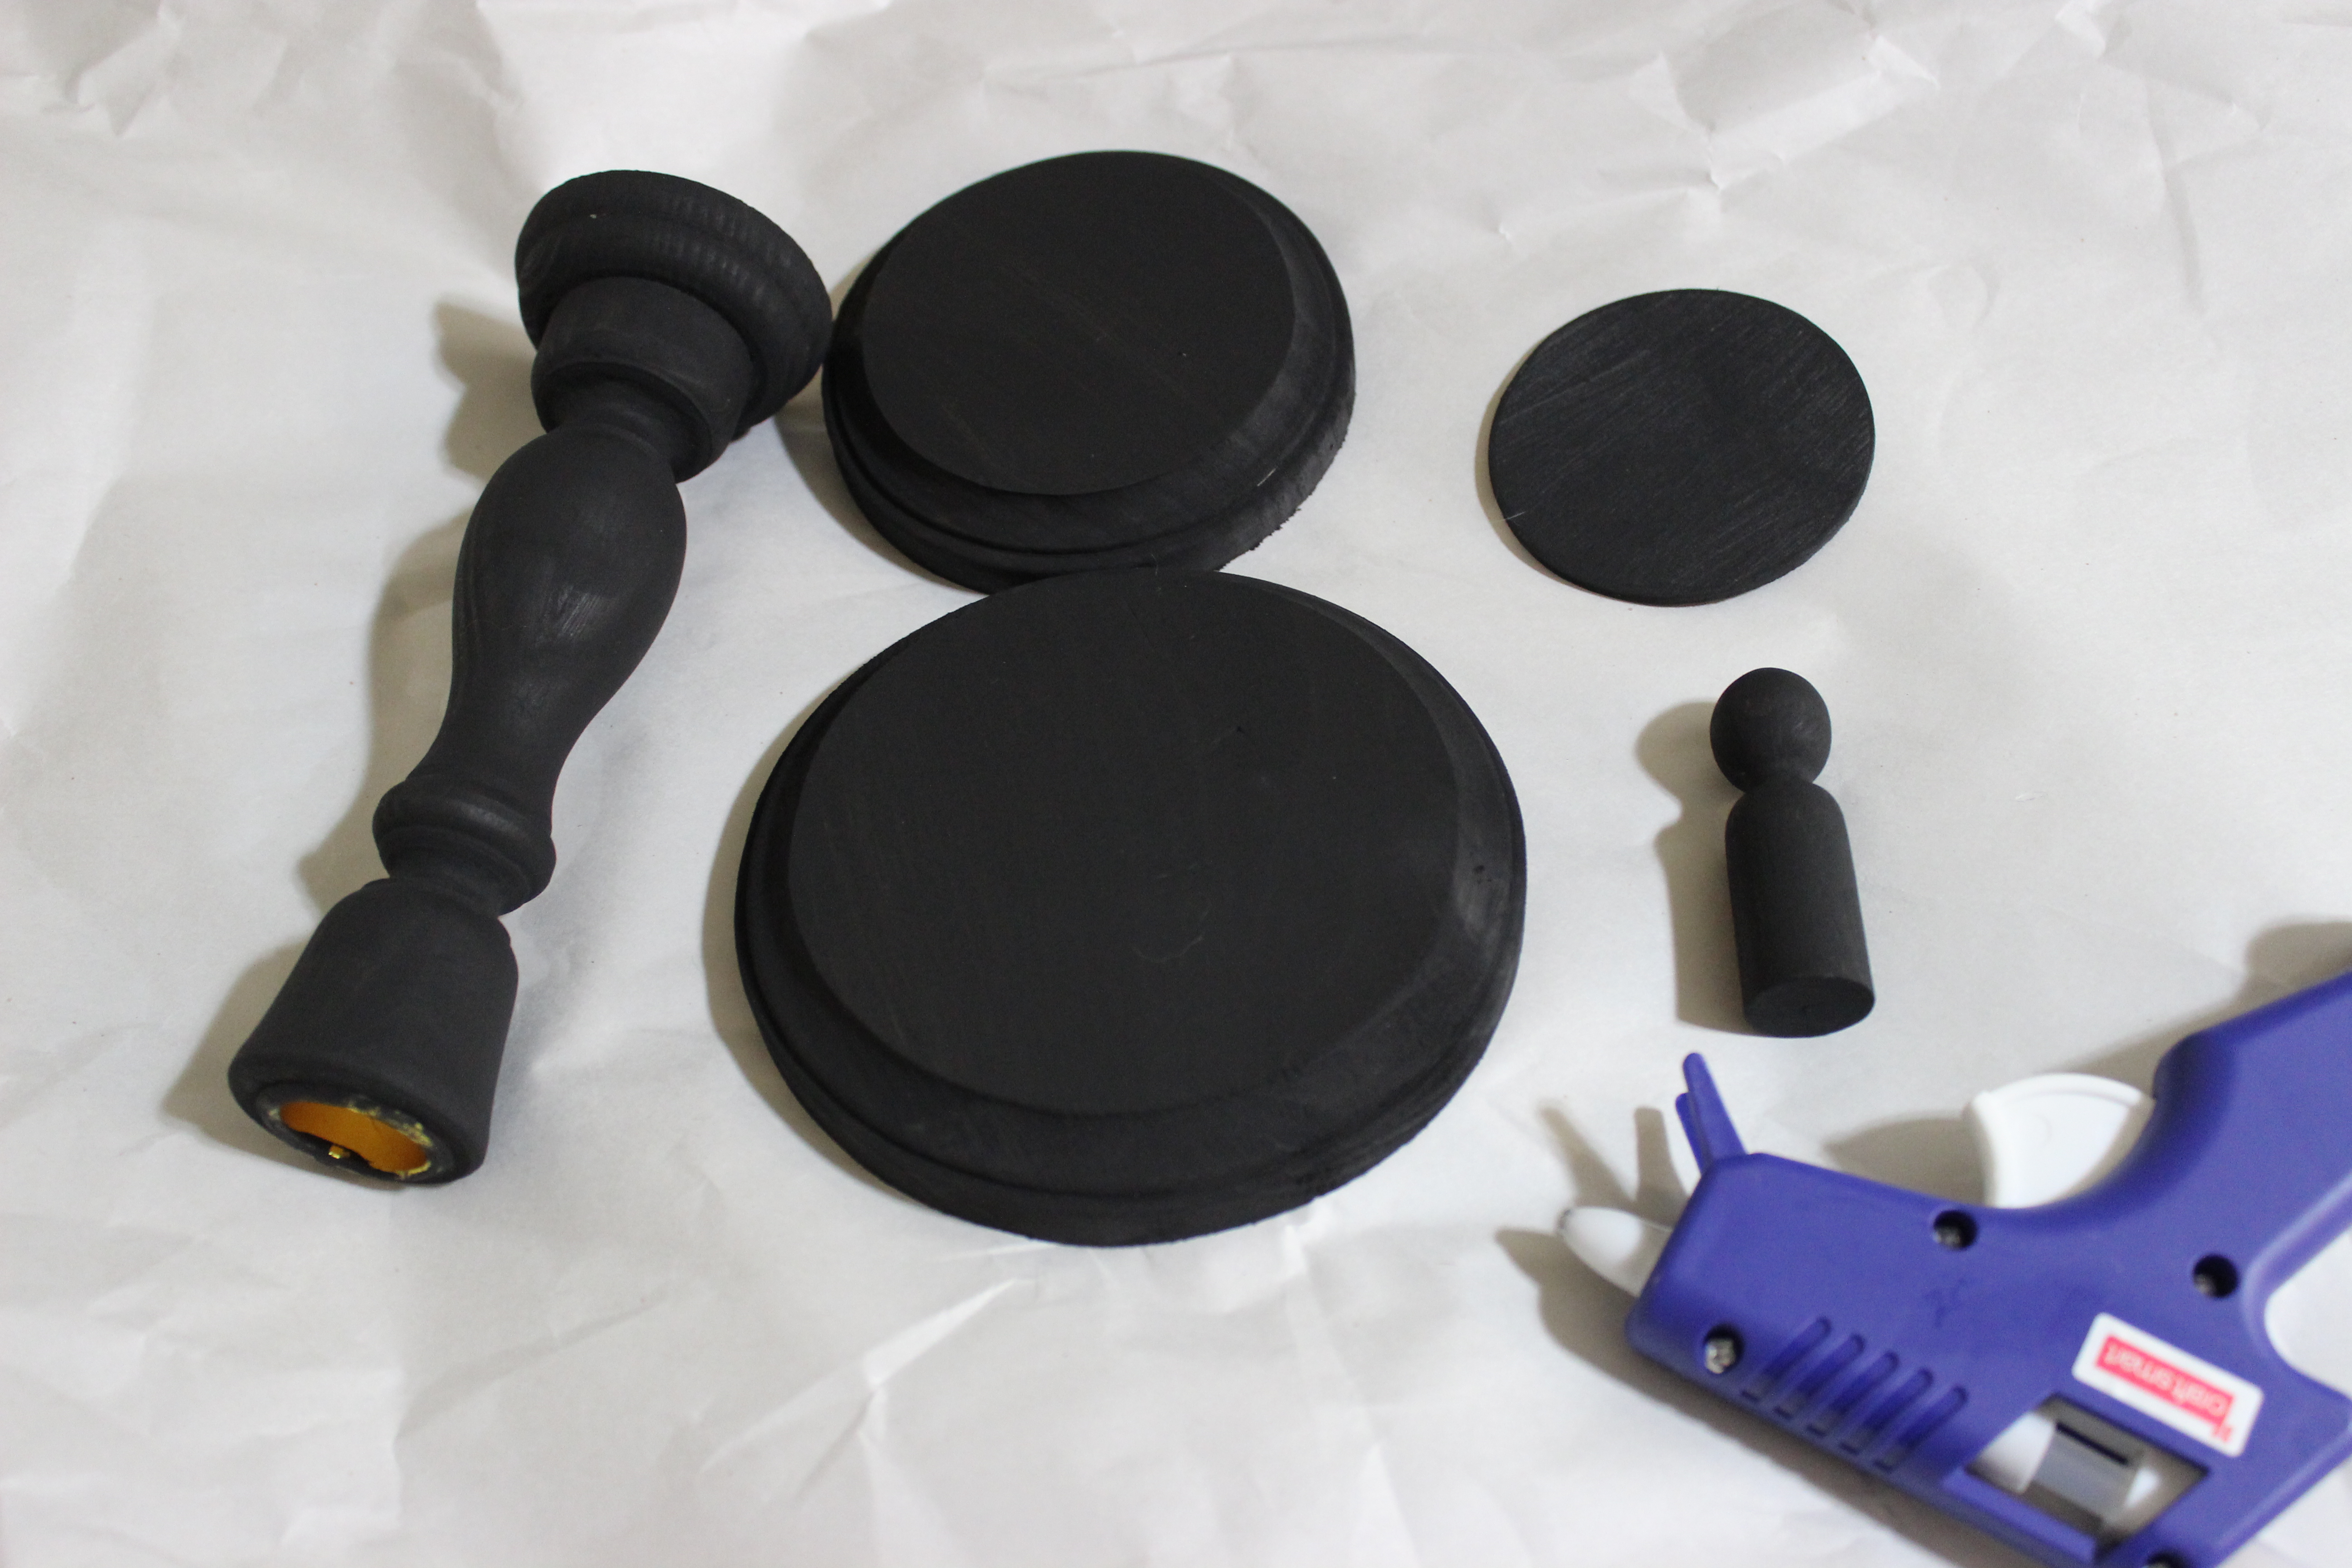
Start by painting all wooden pieces and the jar lid. While they dry, its time to plug in your hot glue gun!
Step 2:
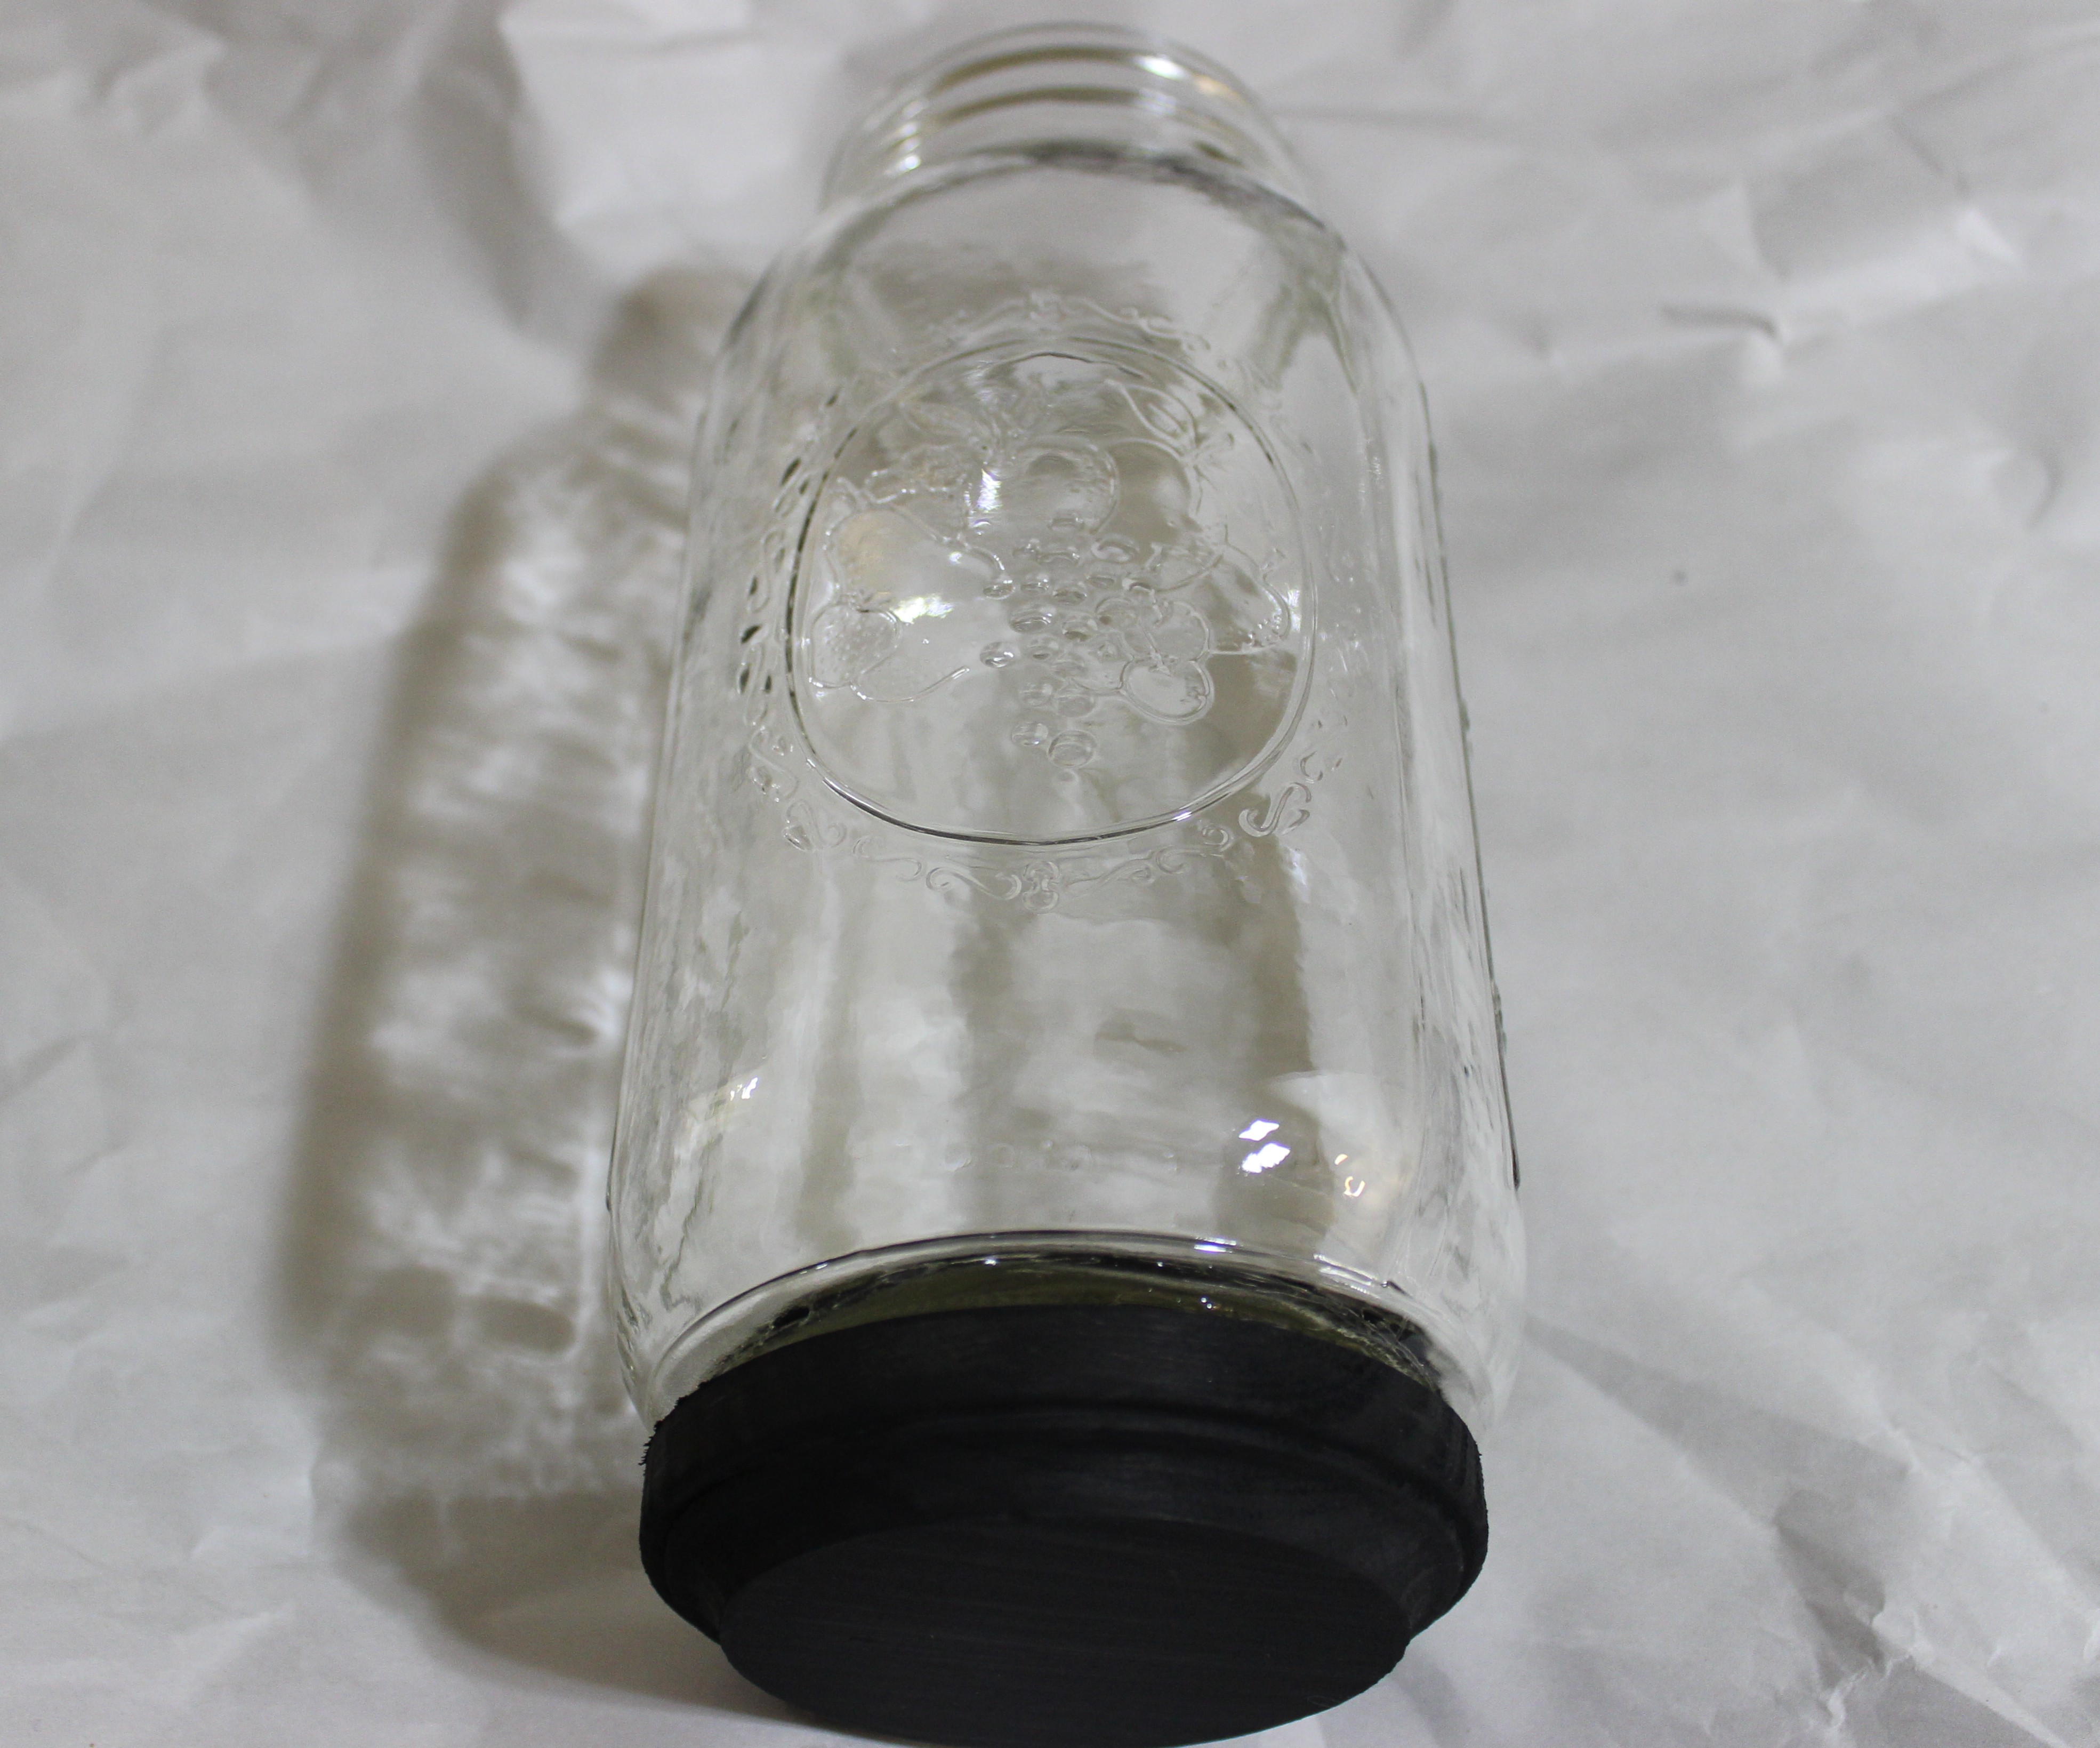
Glue the bottom of the candlestick to the large wooden base. Be sure to glue around the edges to make sure the seal is snug. Next, glue the medium wooden base (upside down) to the bottom of the Mason jar. 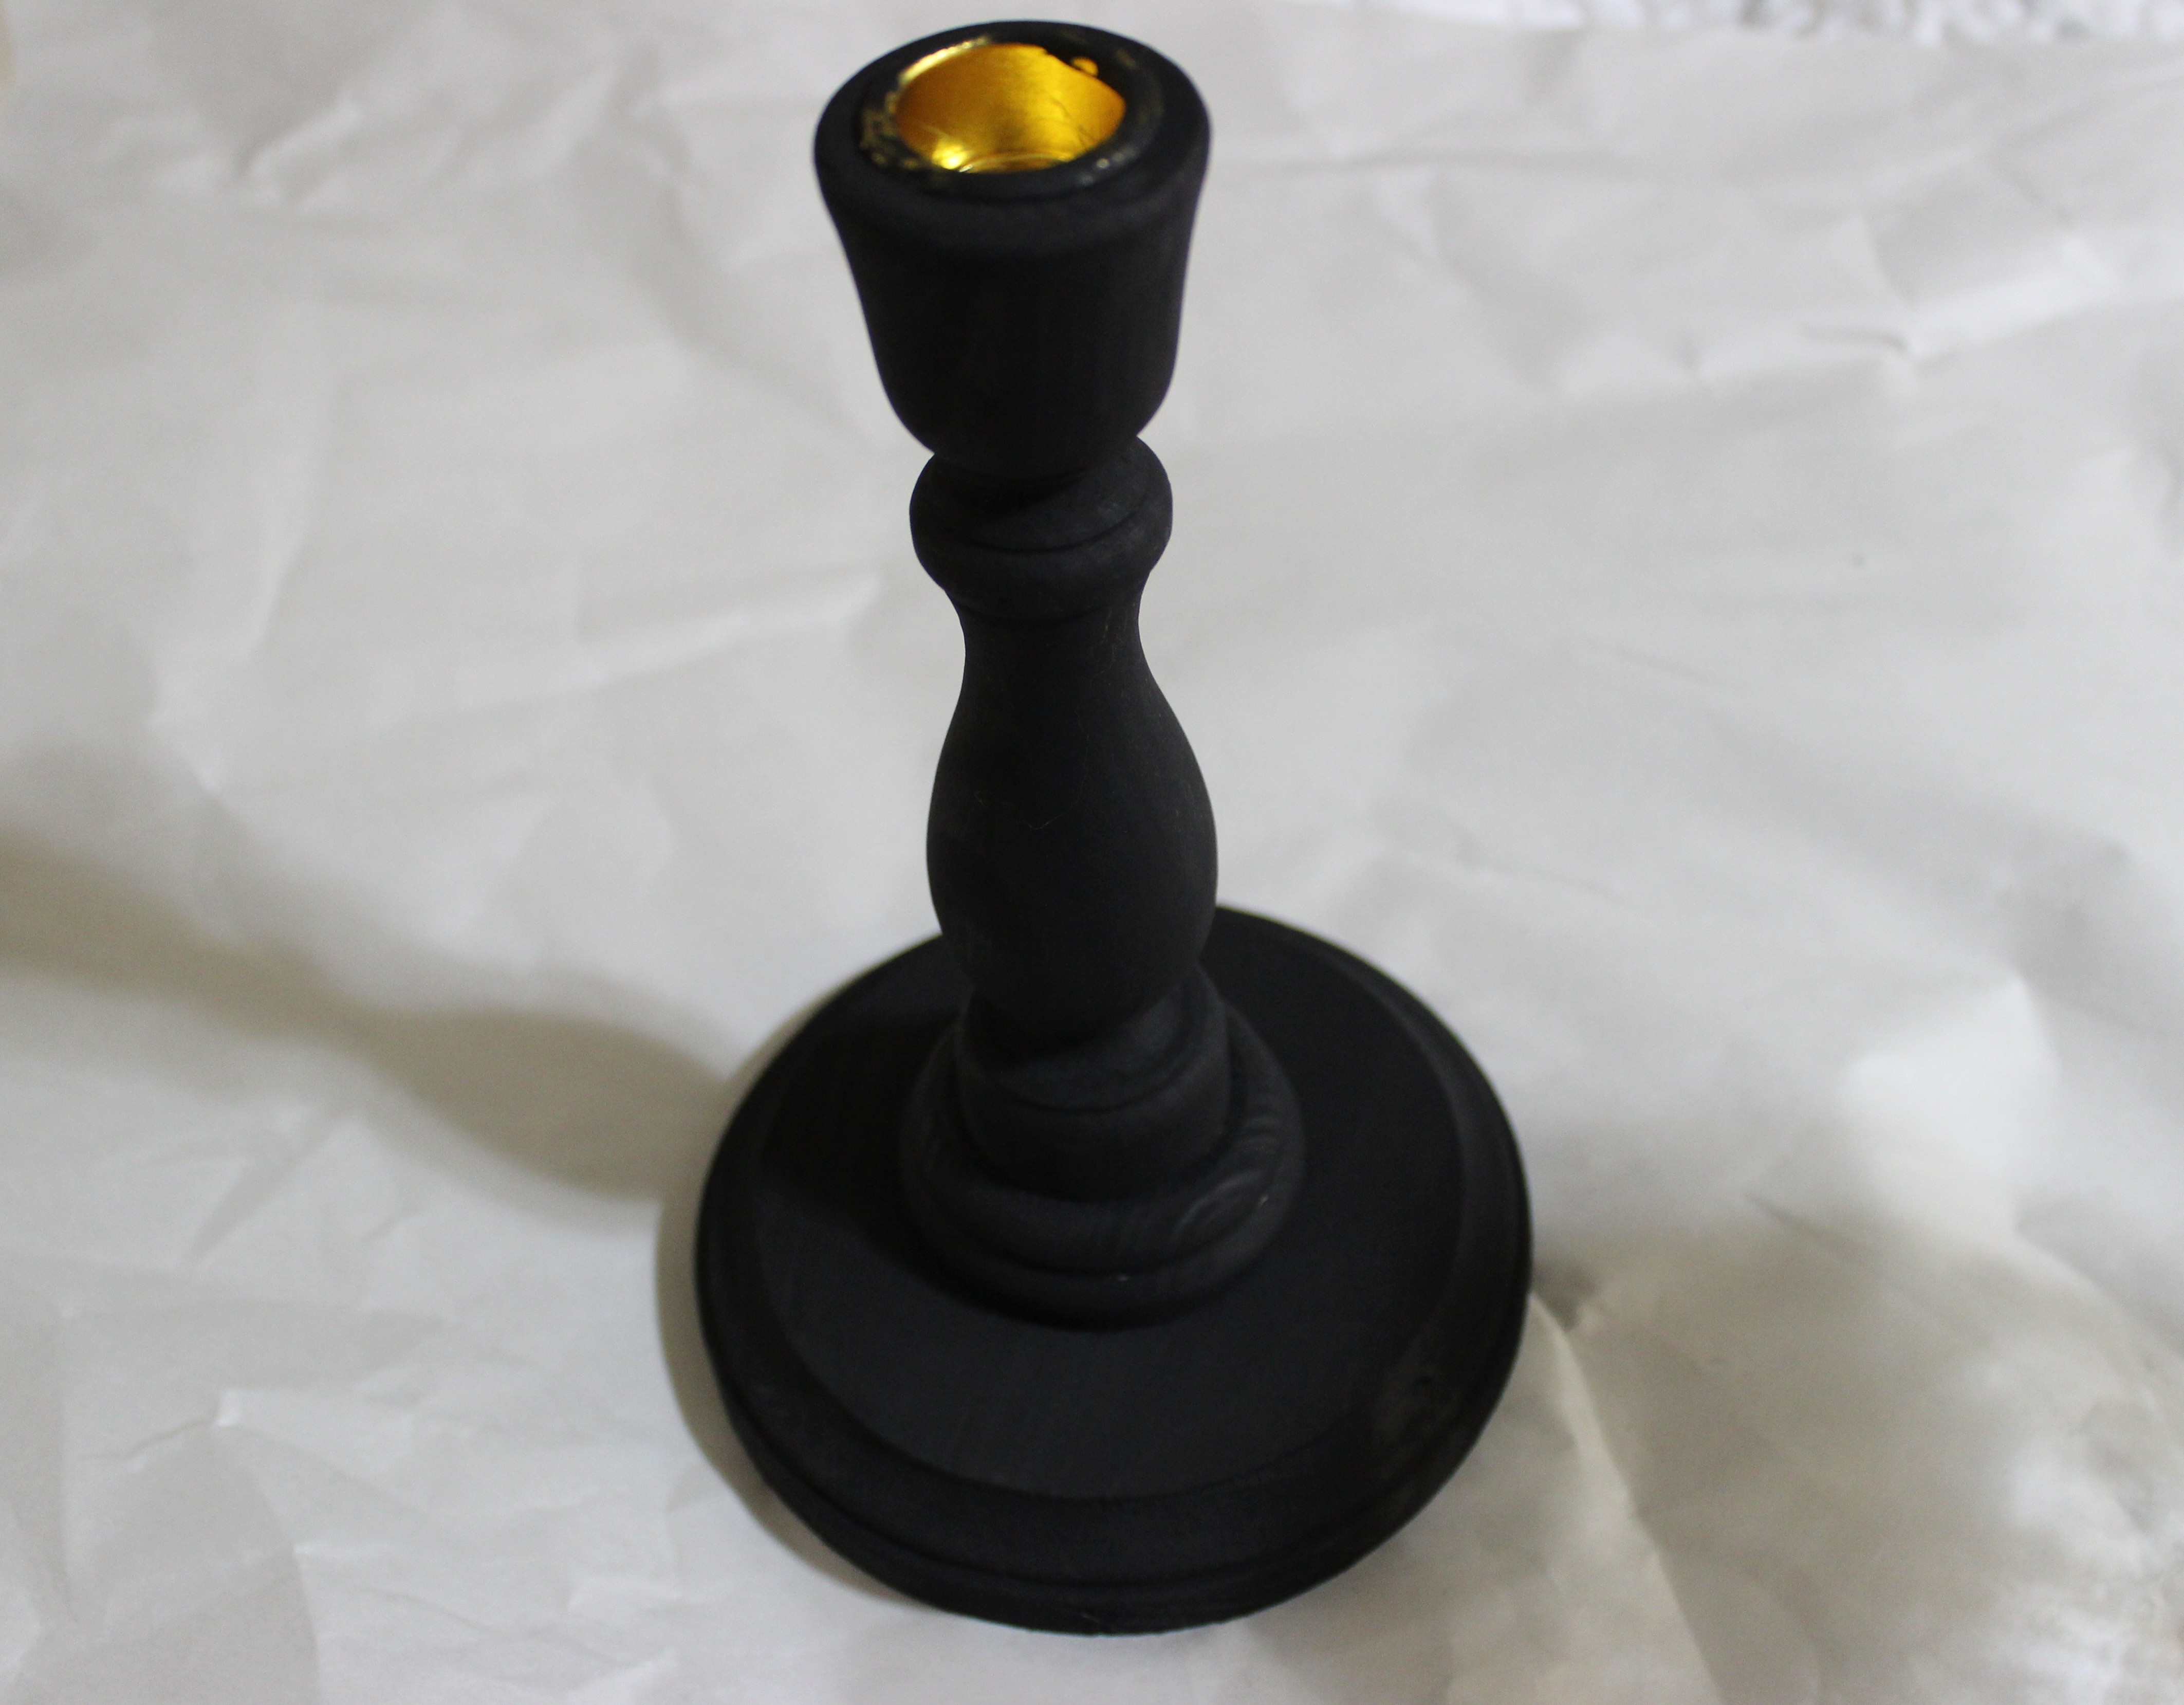
Step 3:
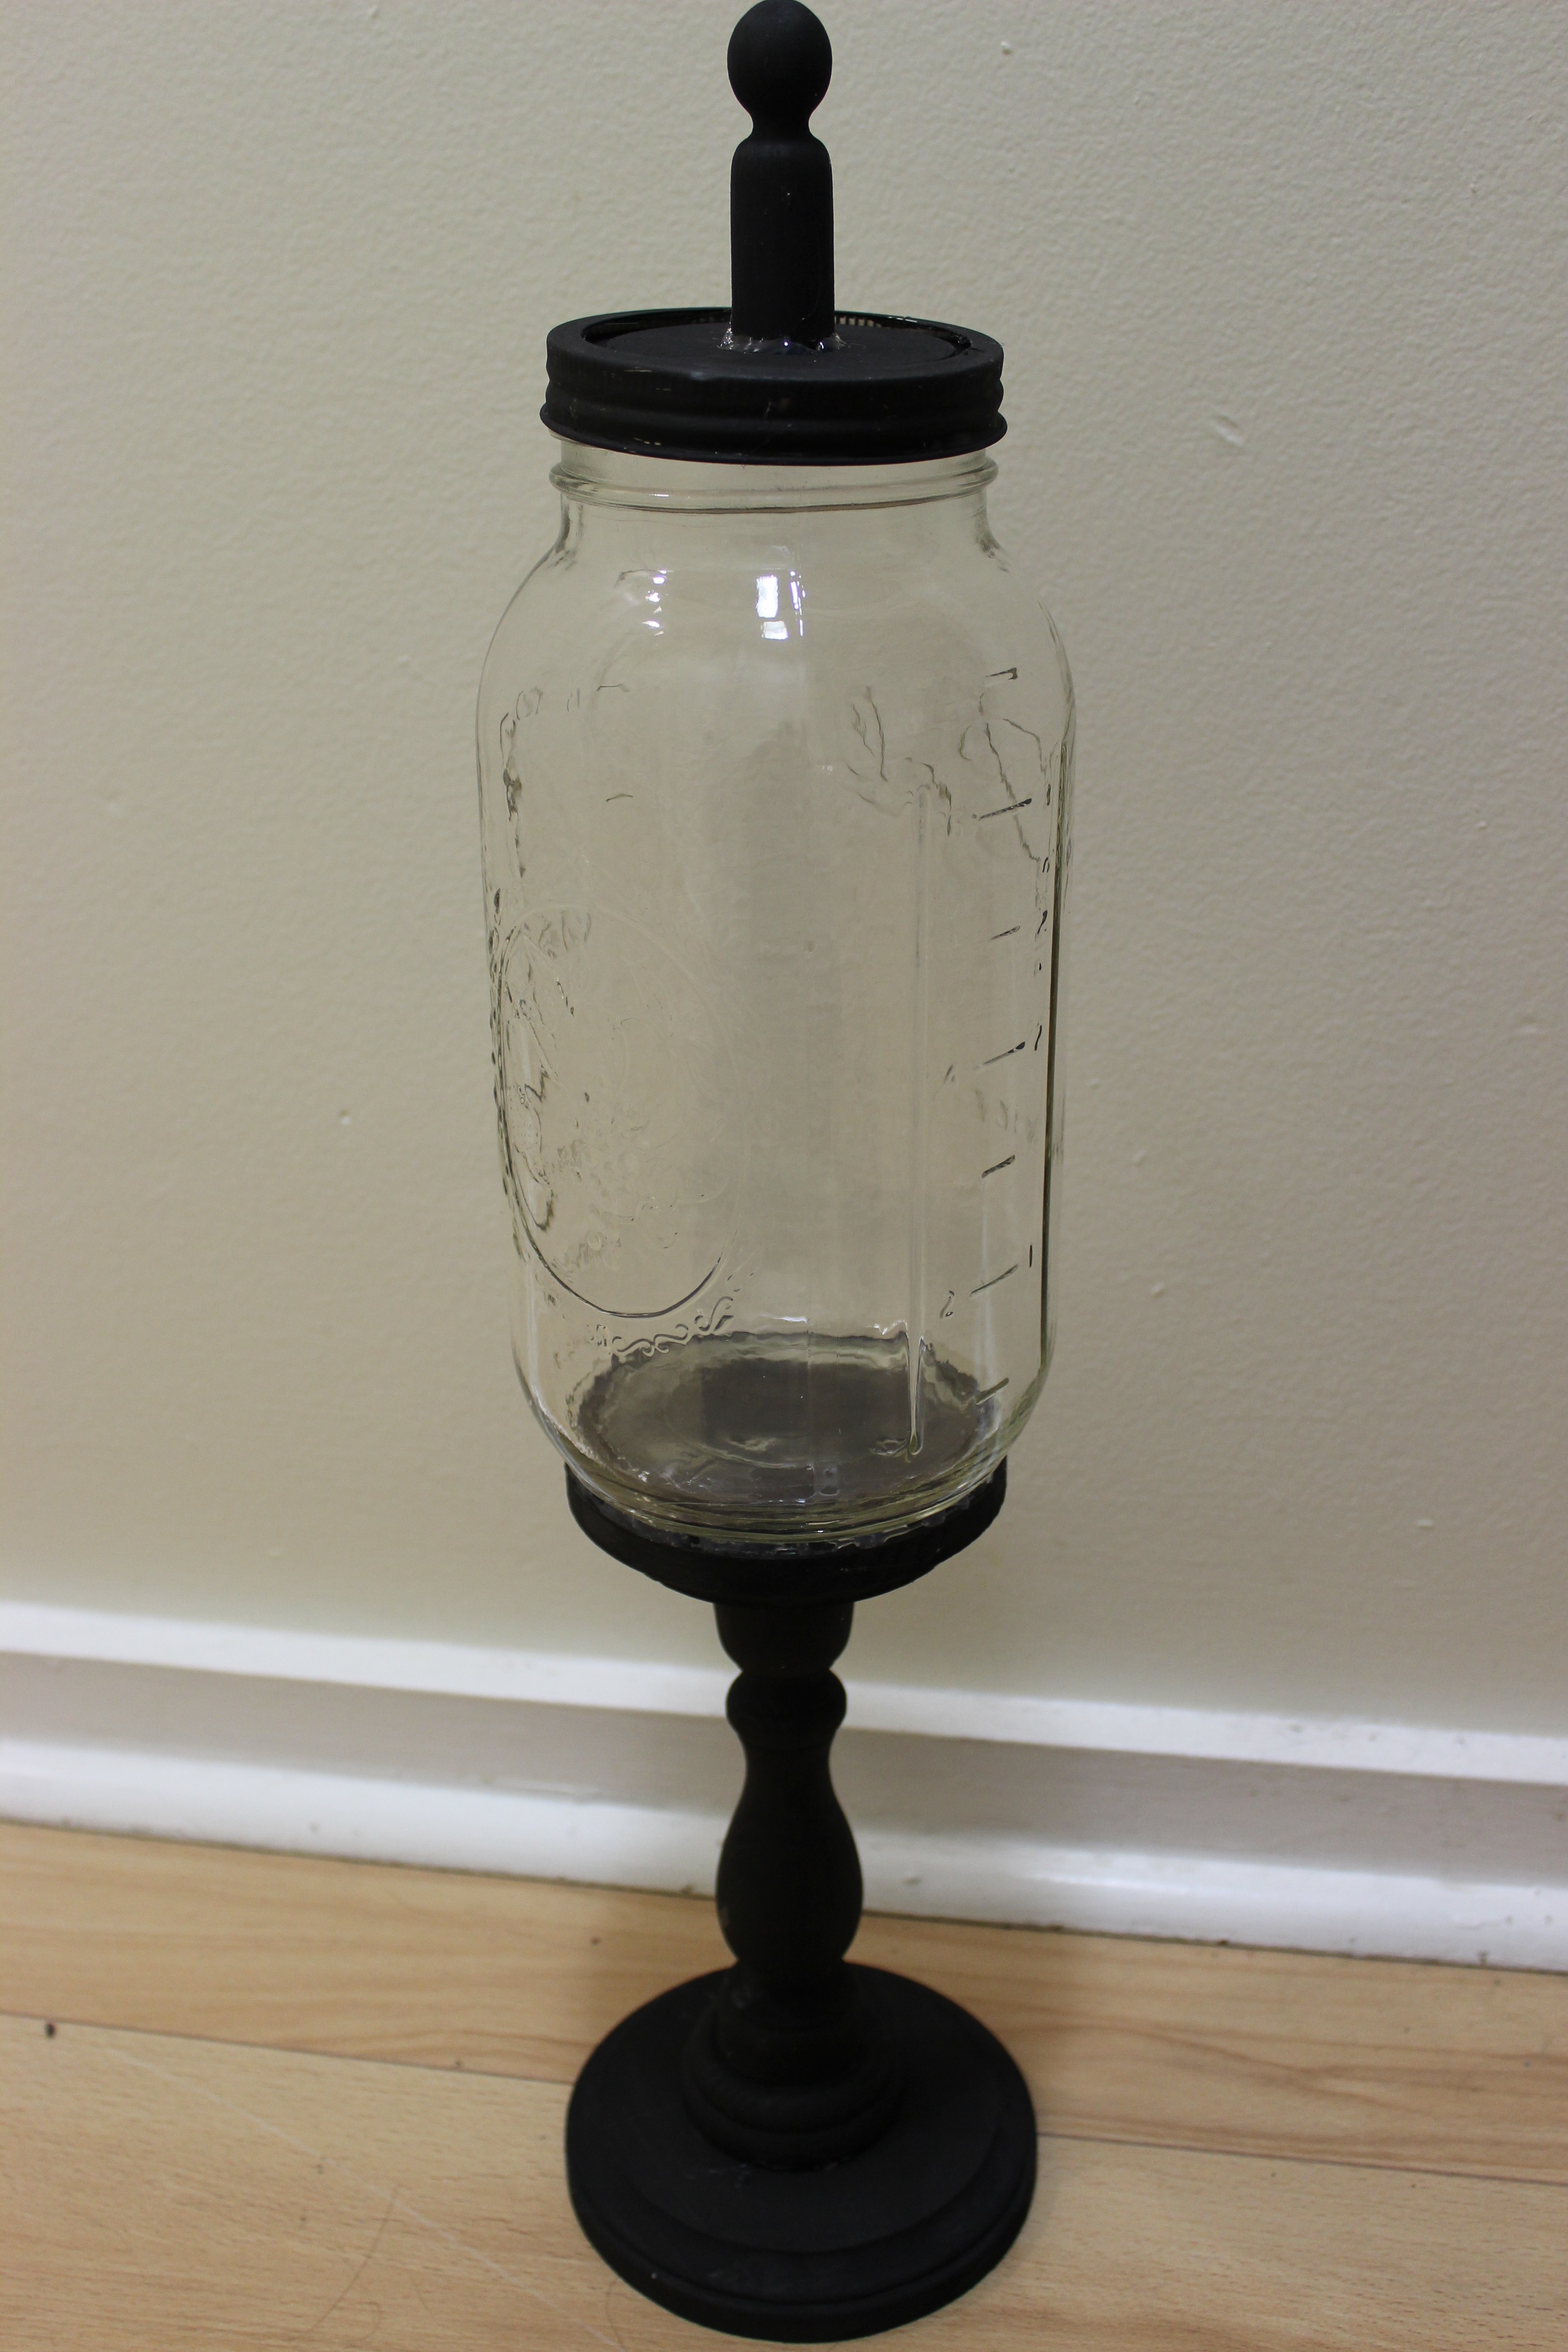
Carefully glue the Mason Jar/ wooden base combo to the top of the candlestick. Put this creation upside down on a hard service to let it dry well. To make sure it adheres well, you will want to seal the edges with an extra layer of hot glue.
In the meantime, glue the wooden topper to the top of your mason jar. I used the small wood circle to create a stronger bond. I would recommend this, but it is optional. Once all the pieces are dry, add the lid and VOILA!
Step 4: (optional)
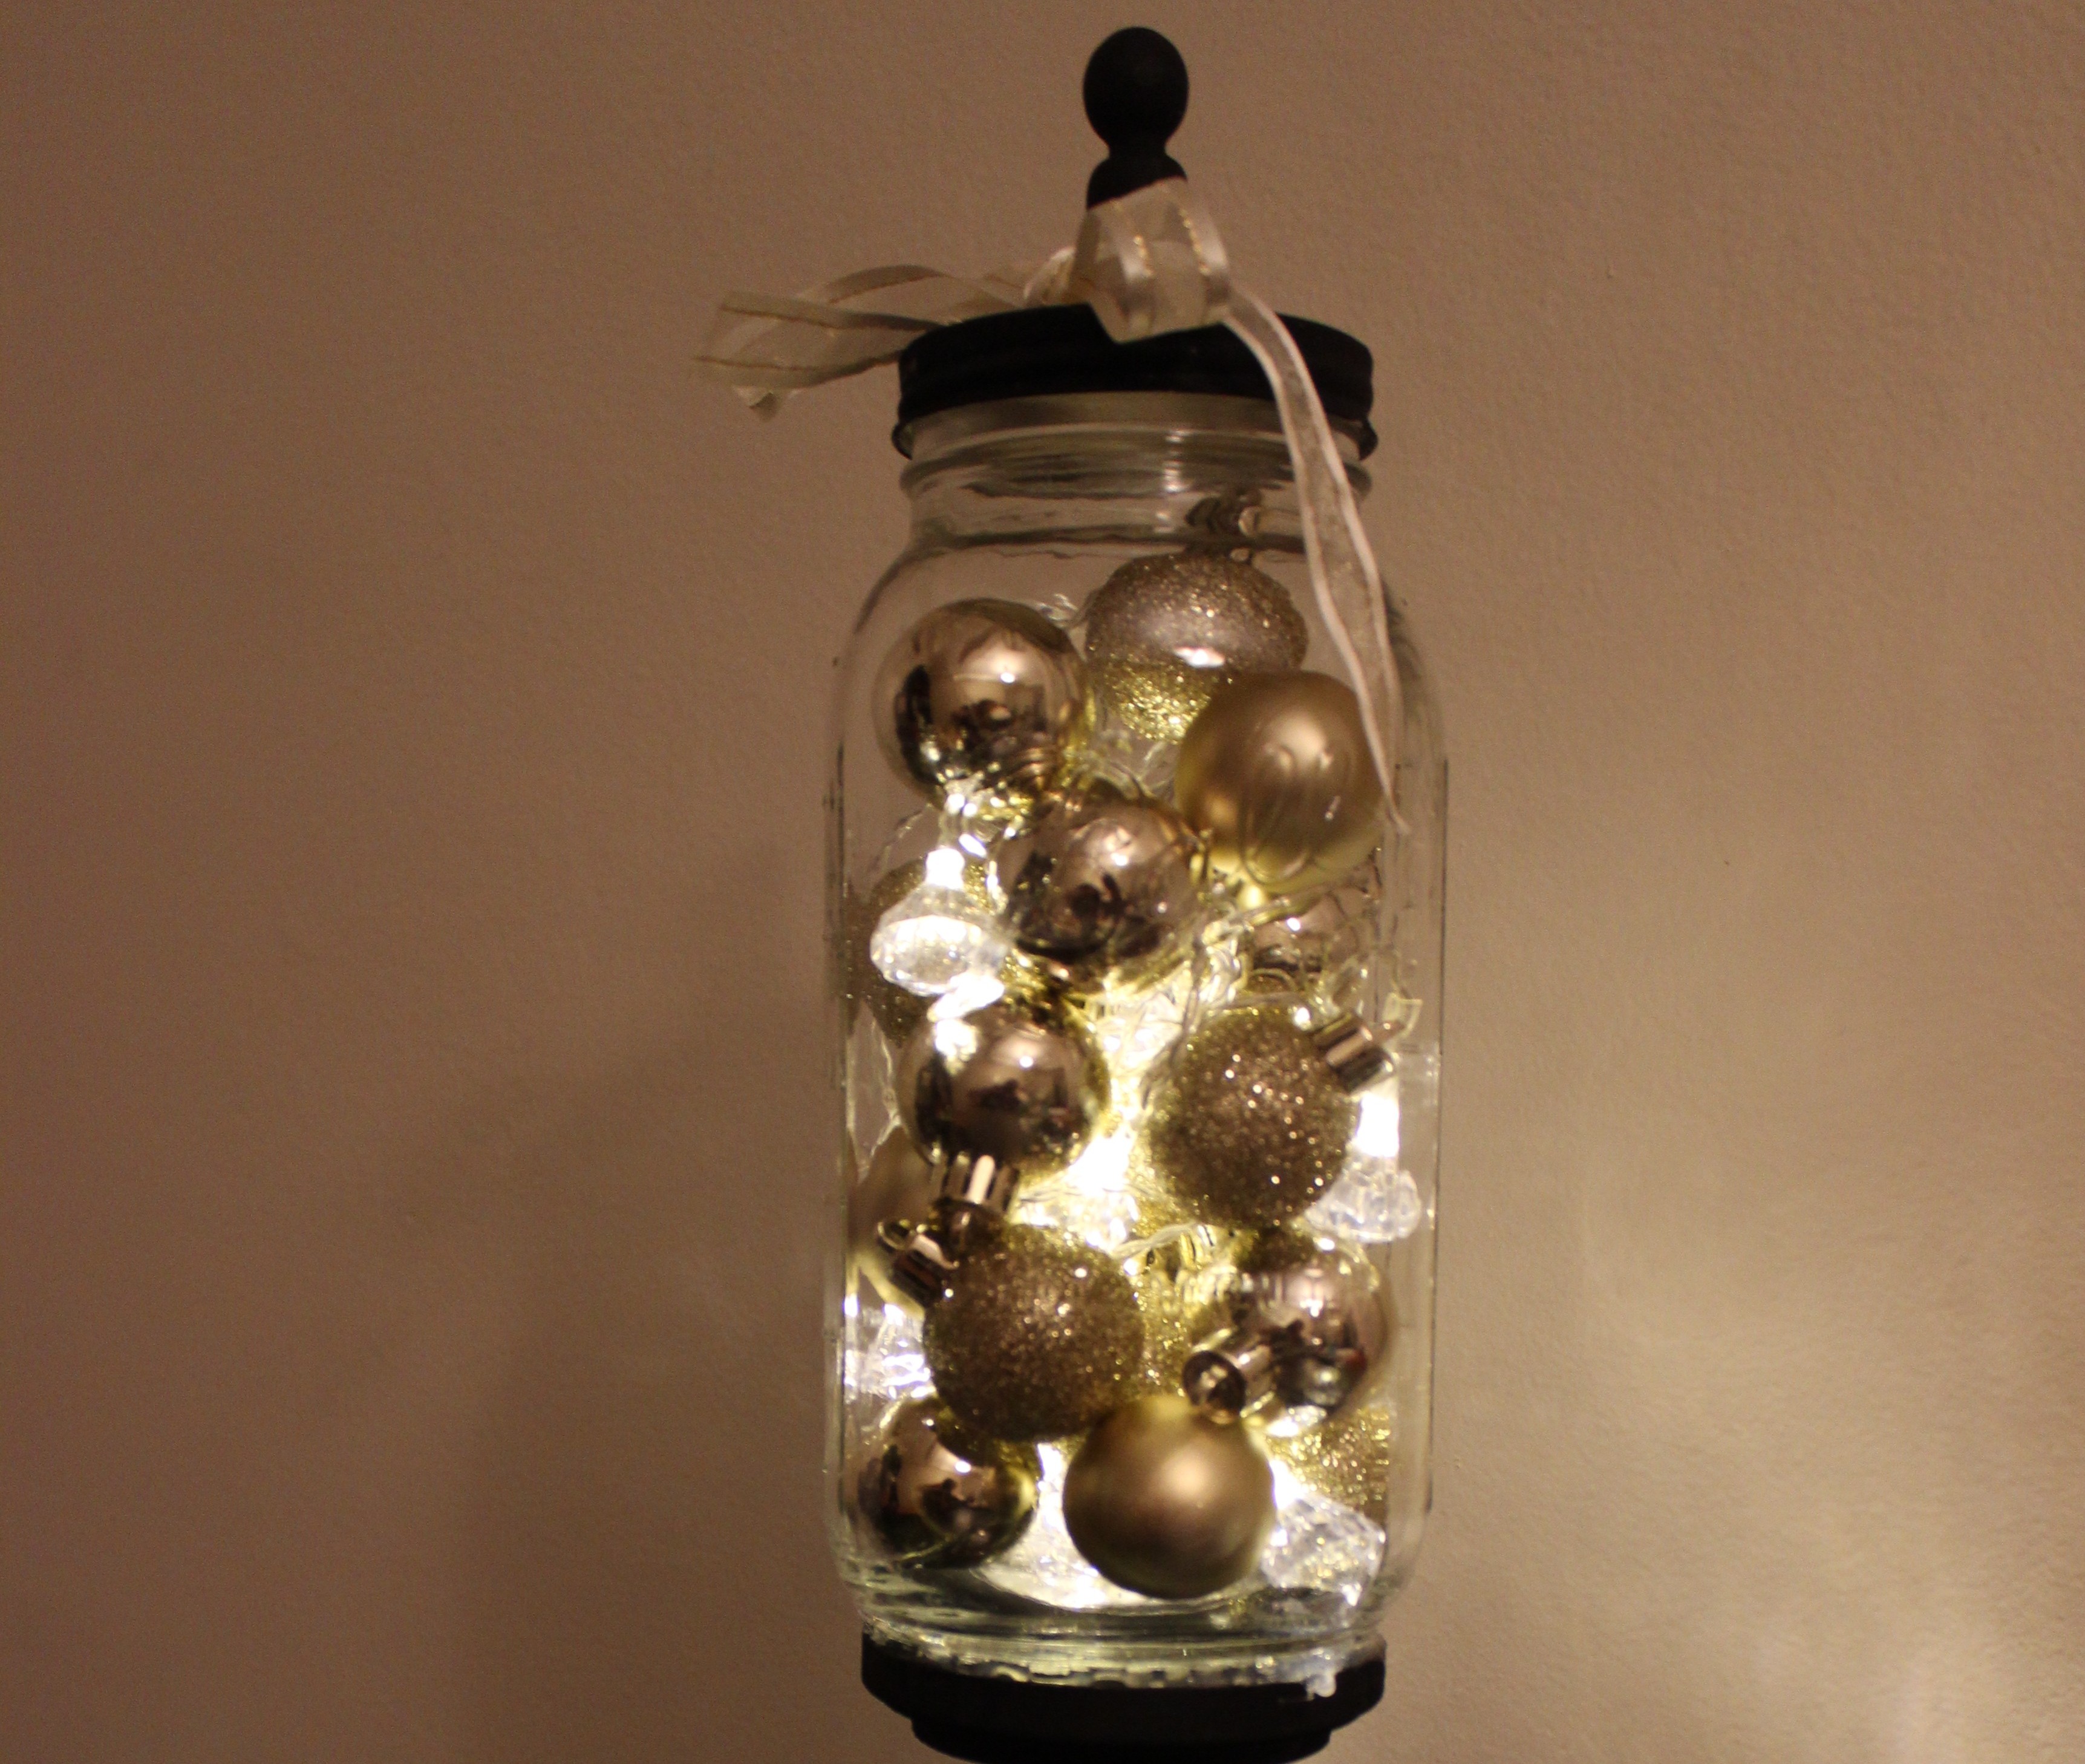
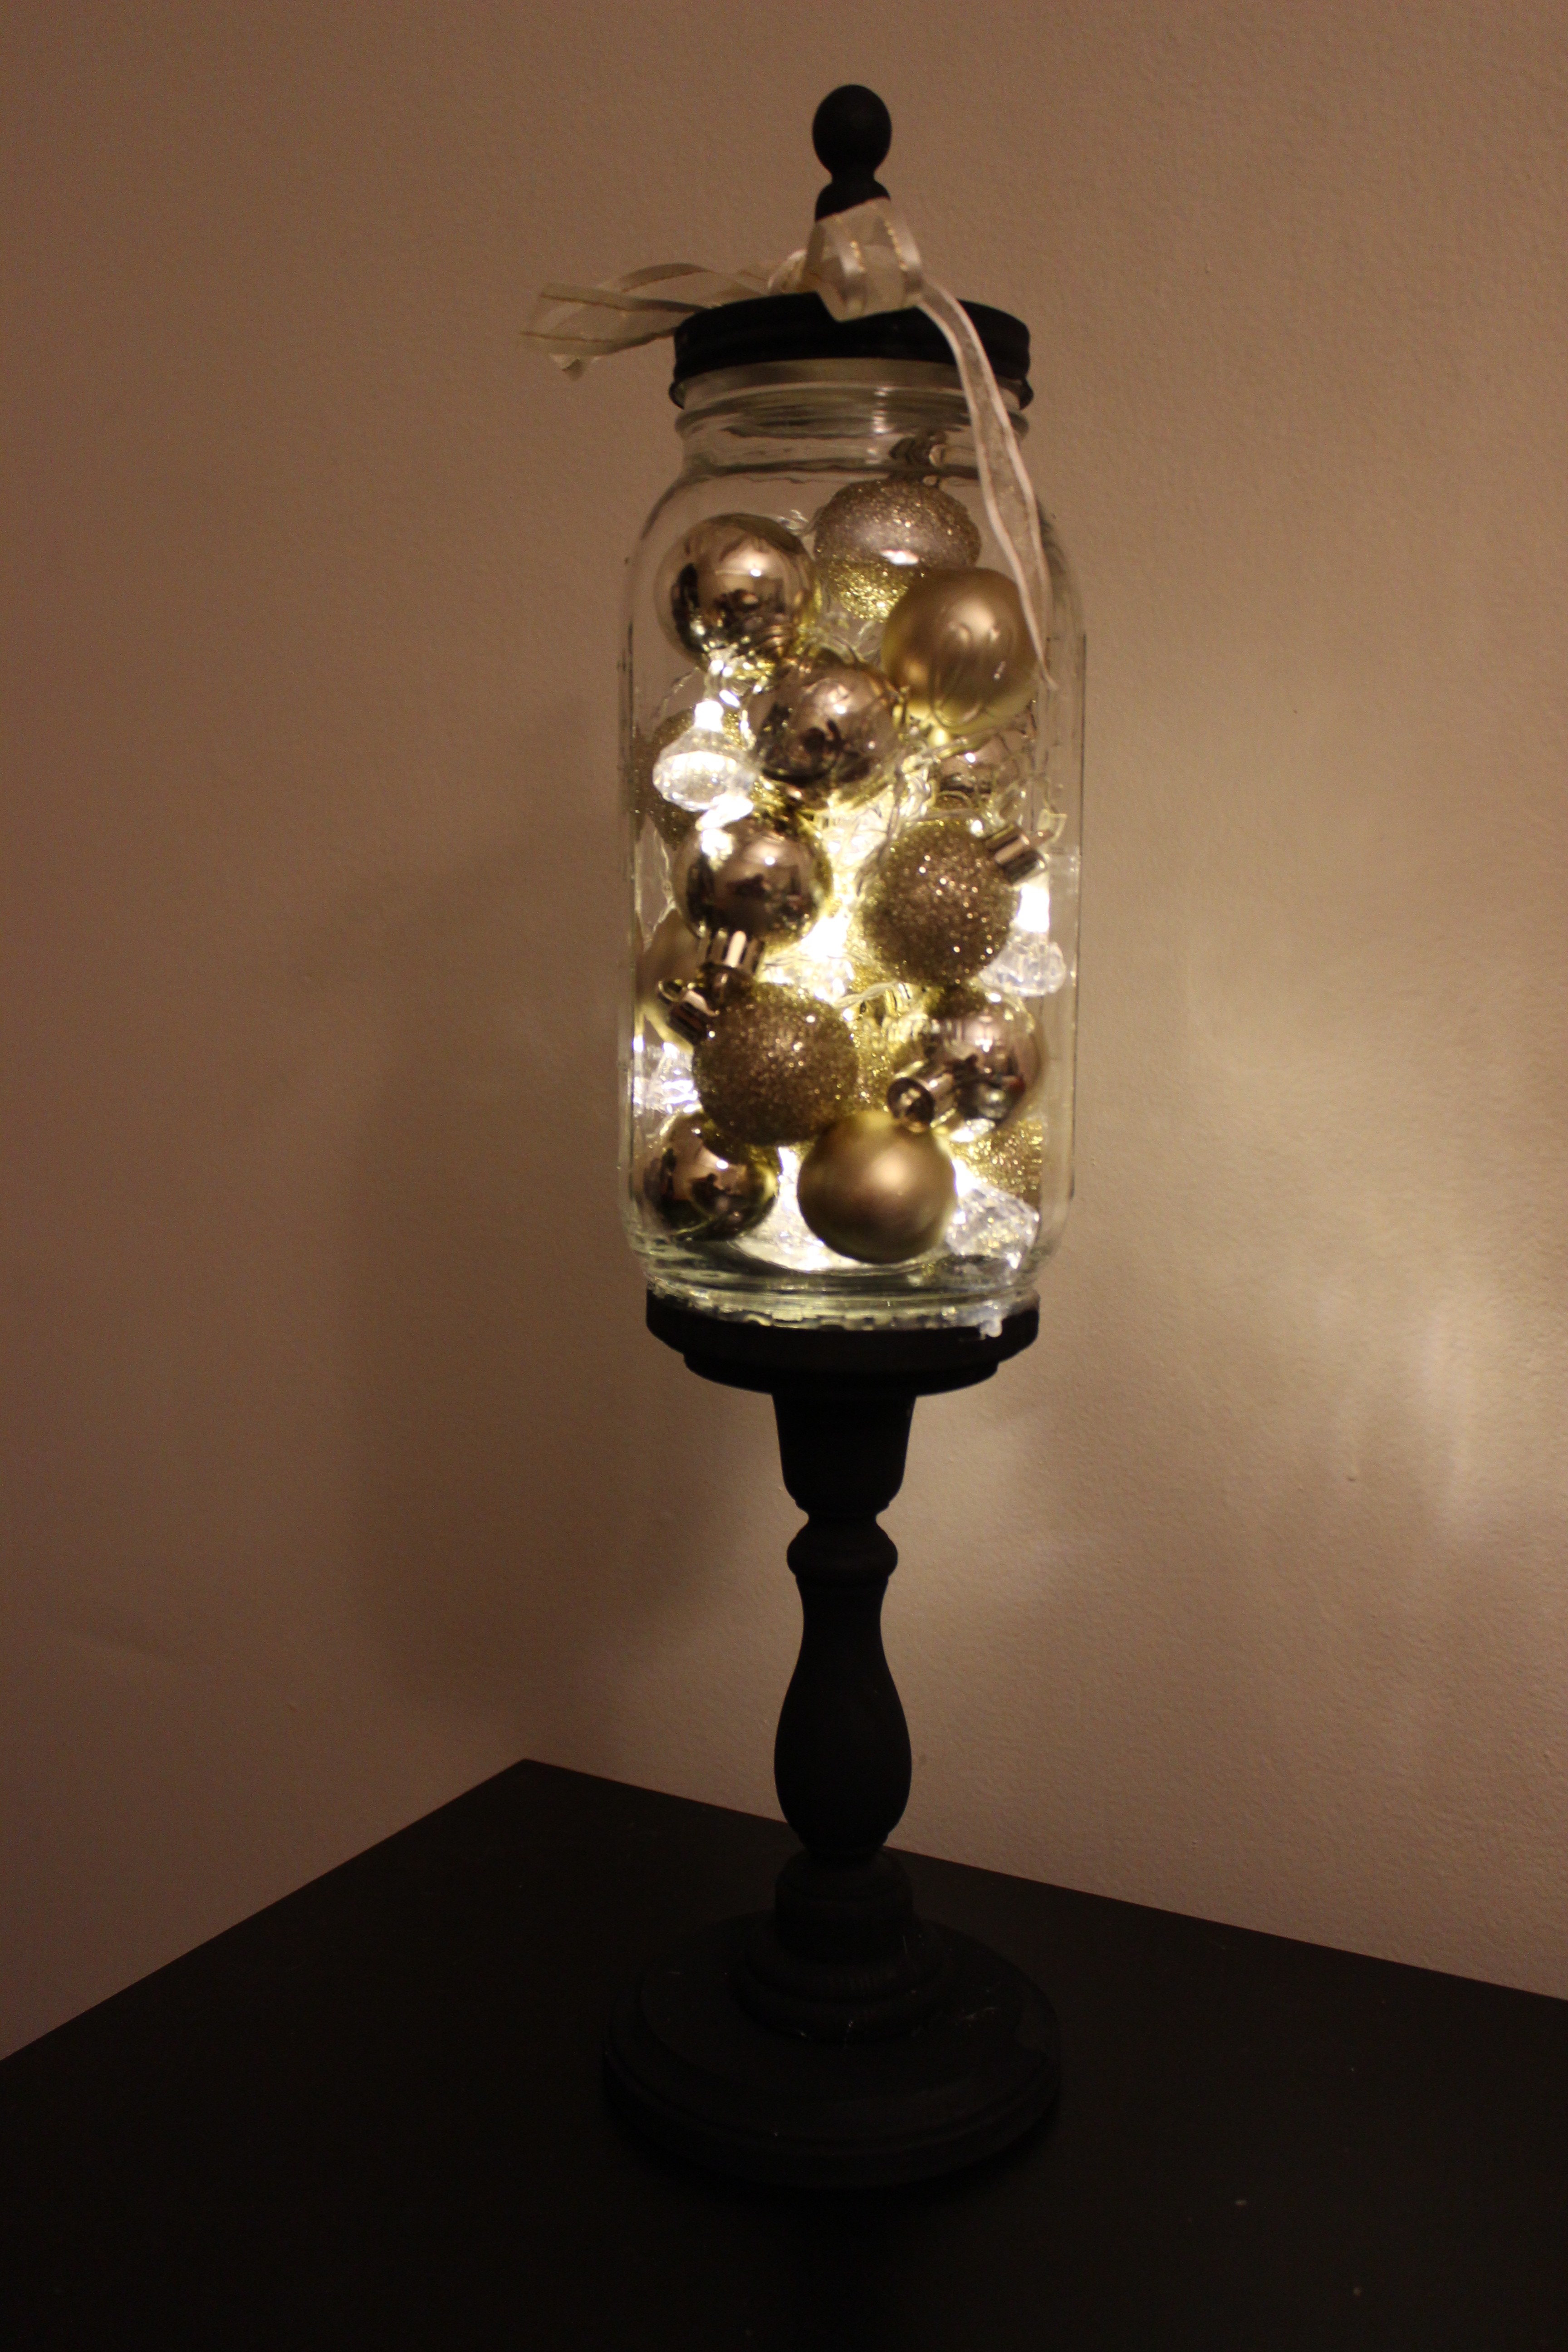
To add some festive flair I filled my jar with gold Christmas ornaments and battery operated lights. Top with a pretty ribbon and I’ve found a way to brighten the room with a touch of Merry.




 Follow



COMMENTS ARE OFF THIS POST