DIY Glitter Tape Holiday Cards
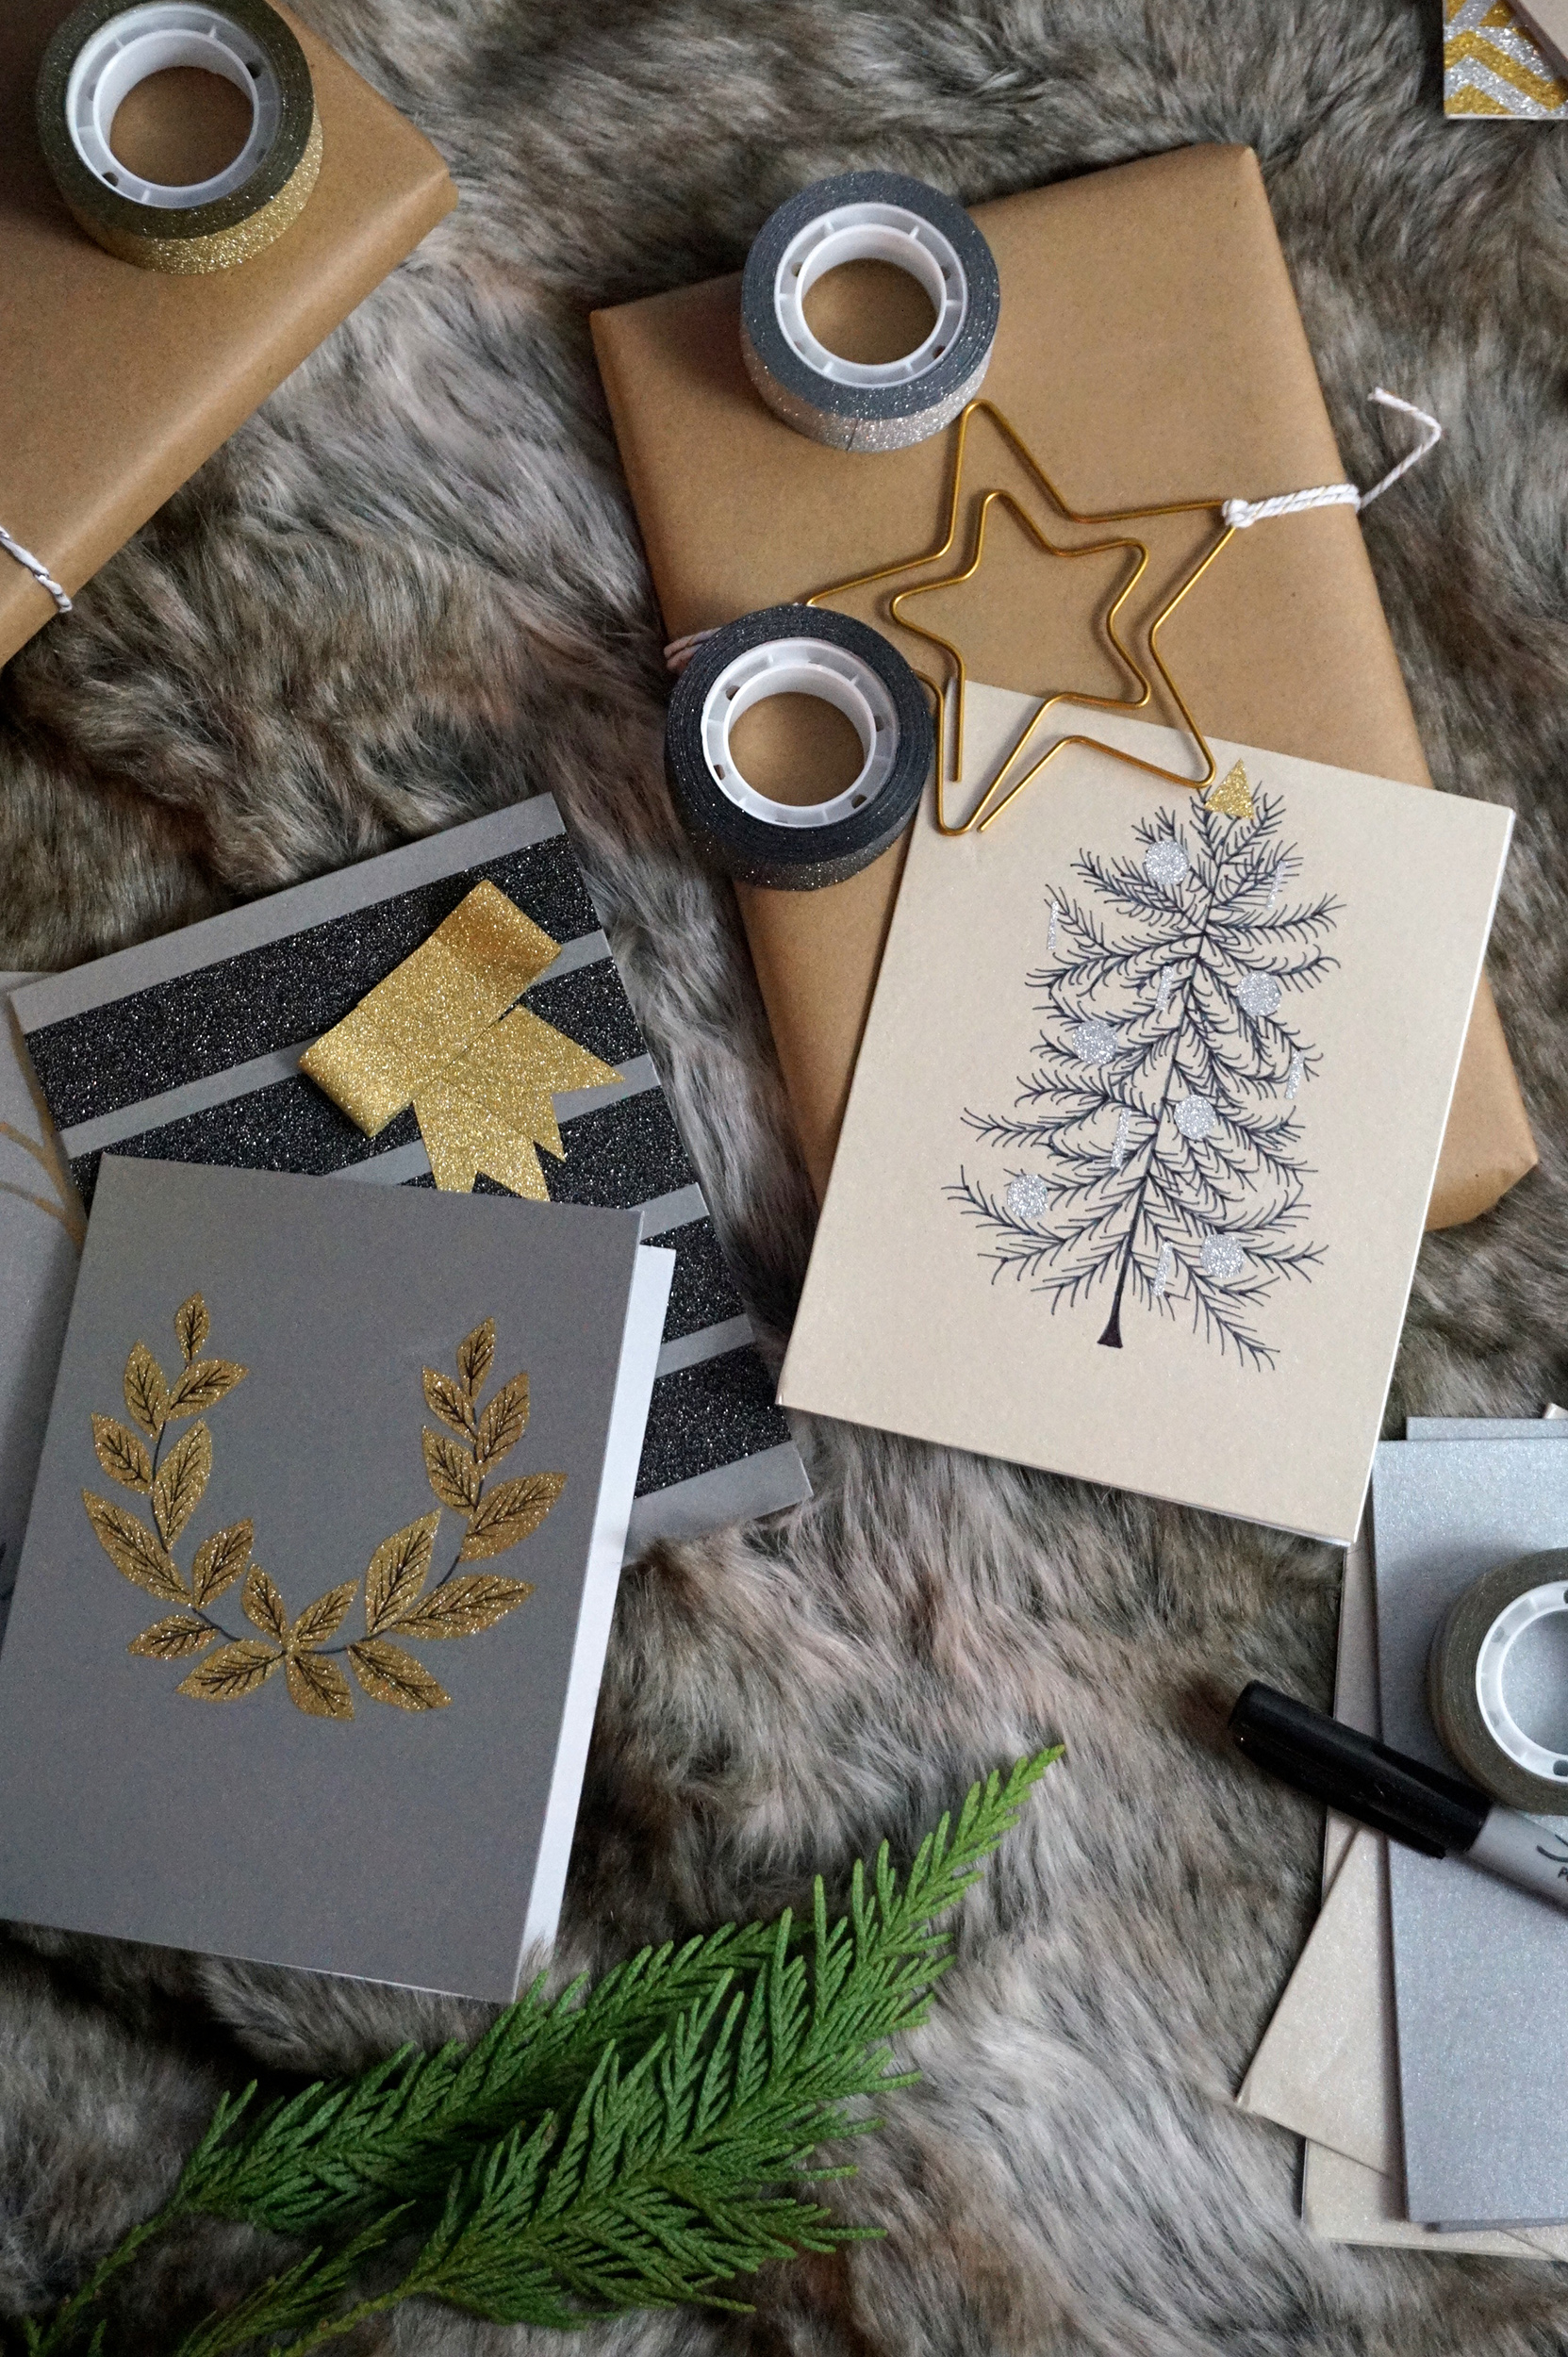
The holidays are my favourite time to try a fun DIY, and as busy as these holidays have been so far, I couldn’t let a year go by without doing one.
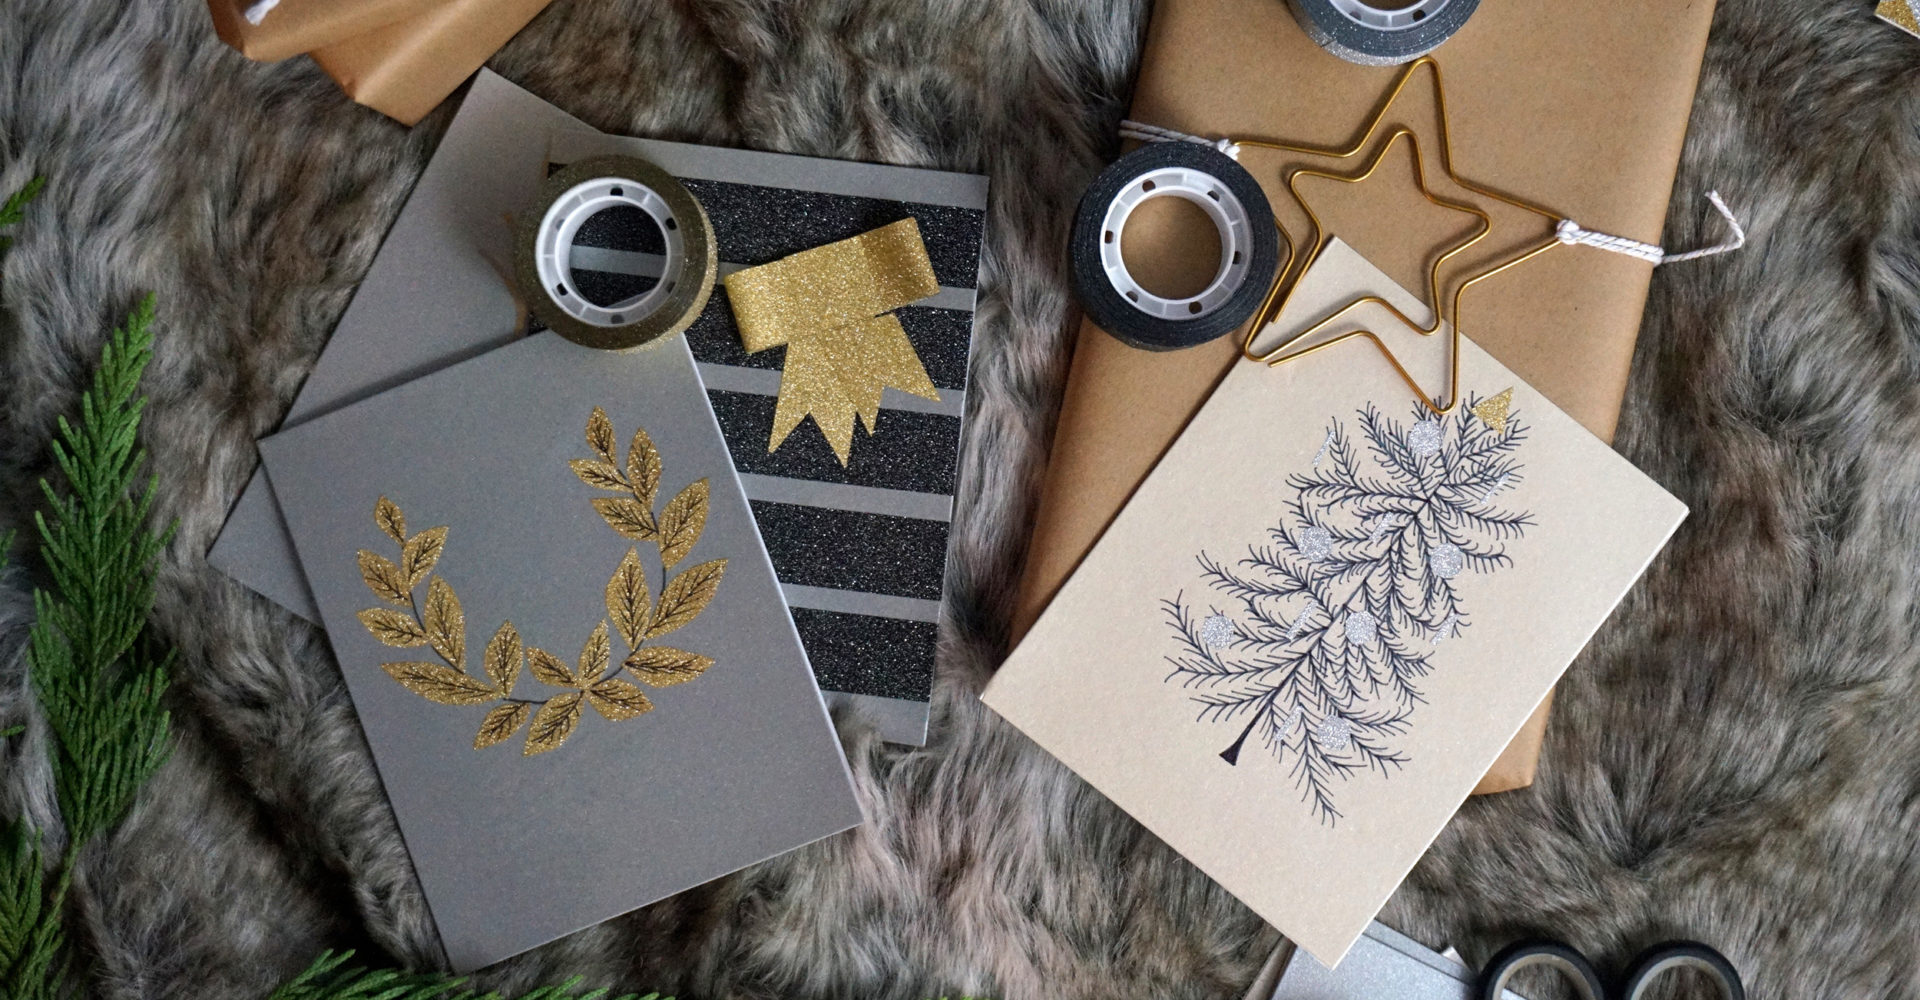
Since this is the season for giving, I thought it would be perfect to put together a cute DIY that would offer an elevated look to my regular gift-wrapping. Lately I’ve been feeling like cards have become so underrated, so rather than just adding a tag to your Christmas gift, I’ve teamed up with Seal-It Glitter Tape to create beautiful cards that are sparkly, unique and one of a kind!
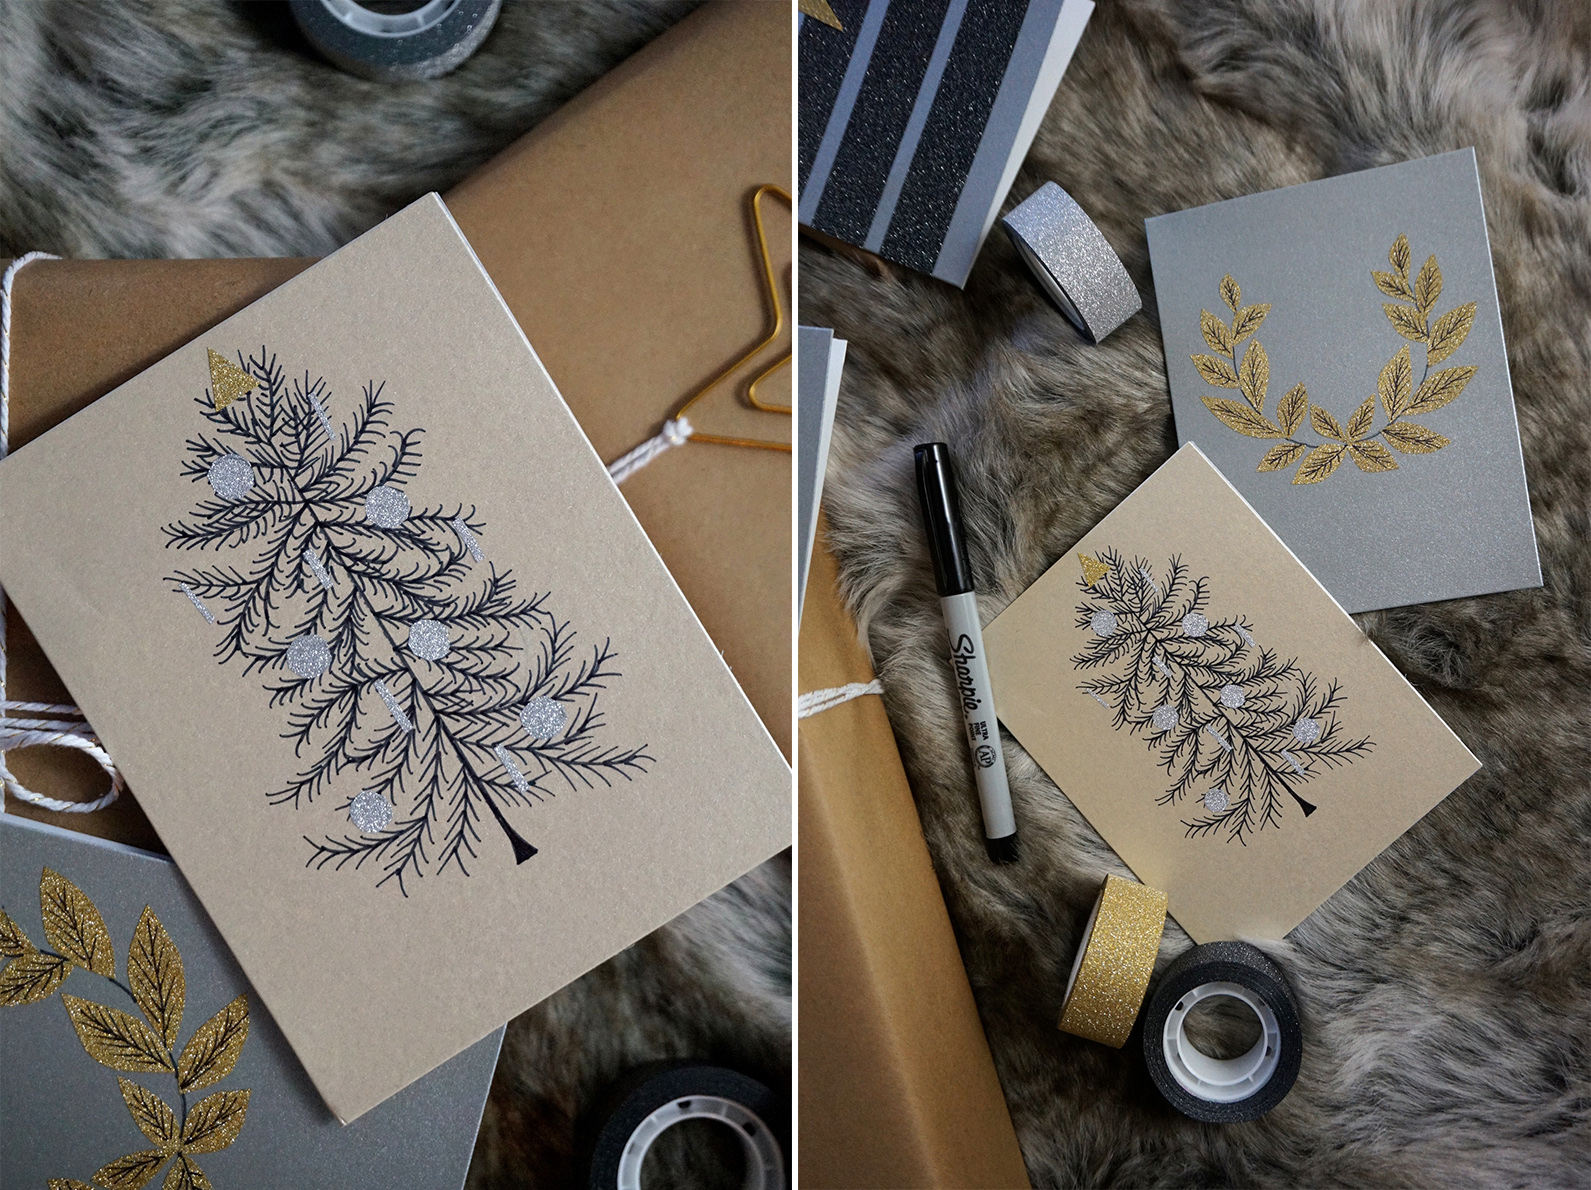
If you aren’t familiar with this Glitter Tape, Seal-It Glitter Tape consists of an adhesive that can stick to a variety of surfaces without the glitter flaking off, so using it on the stock cards was incredibly easy, and the thin tape made for a clean design. It is also really easy to manipulate so you can get creative with how you use it!
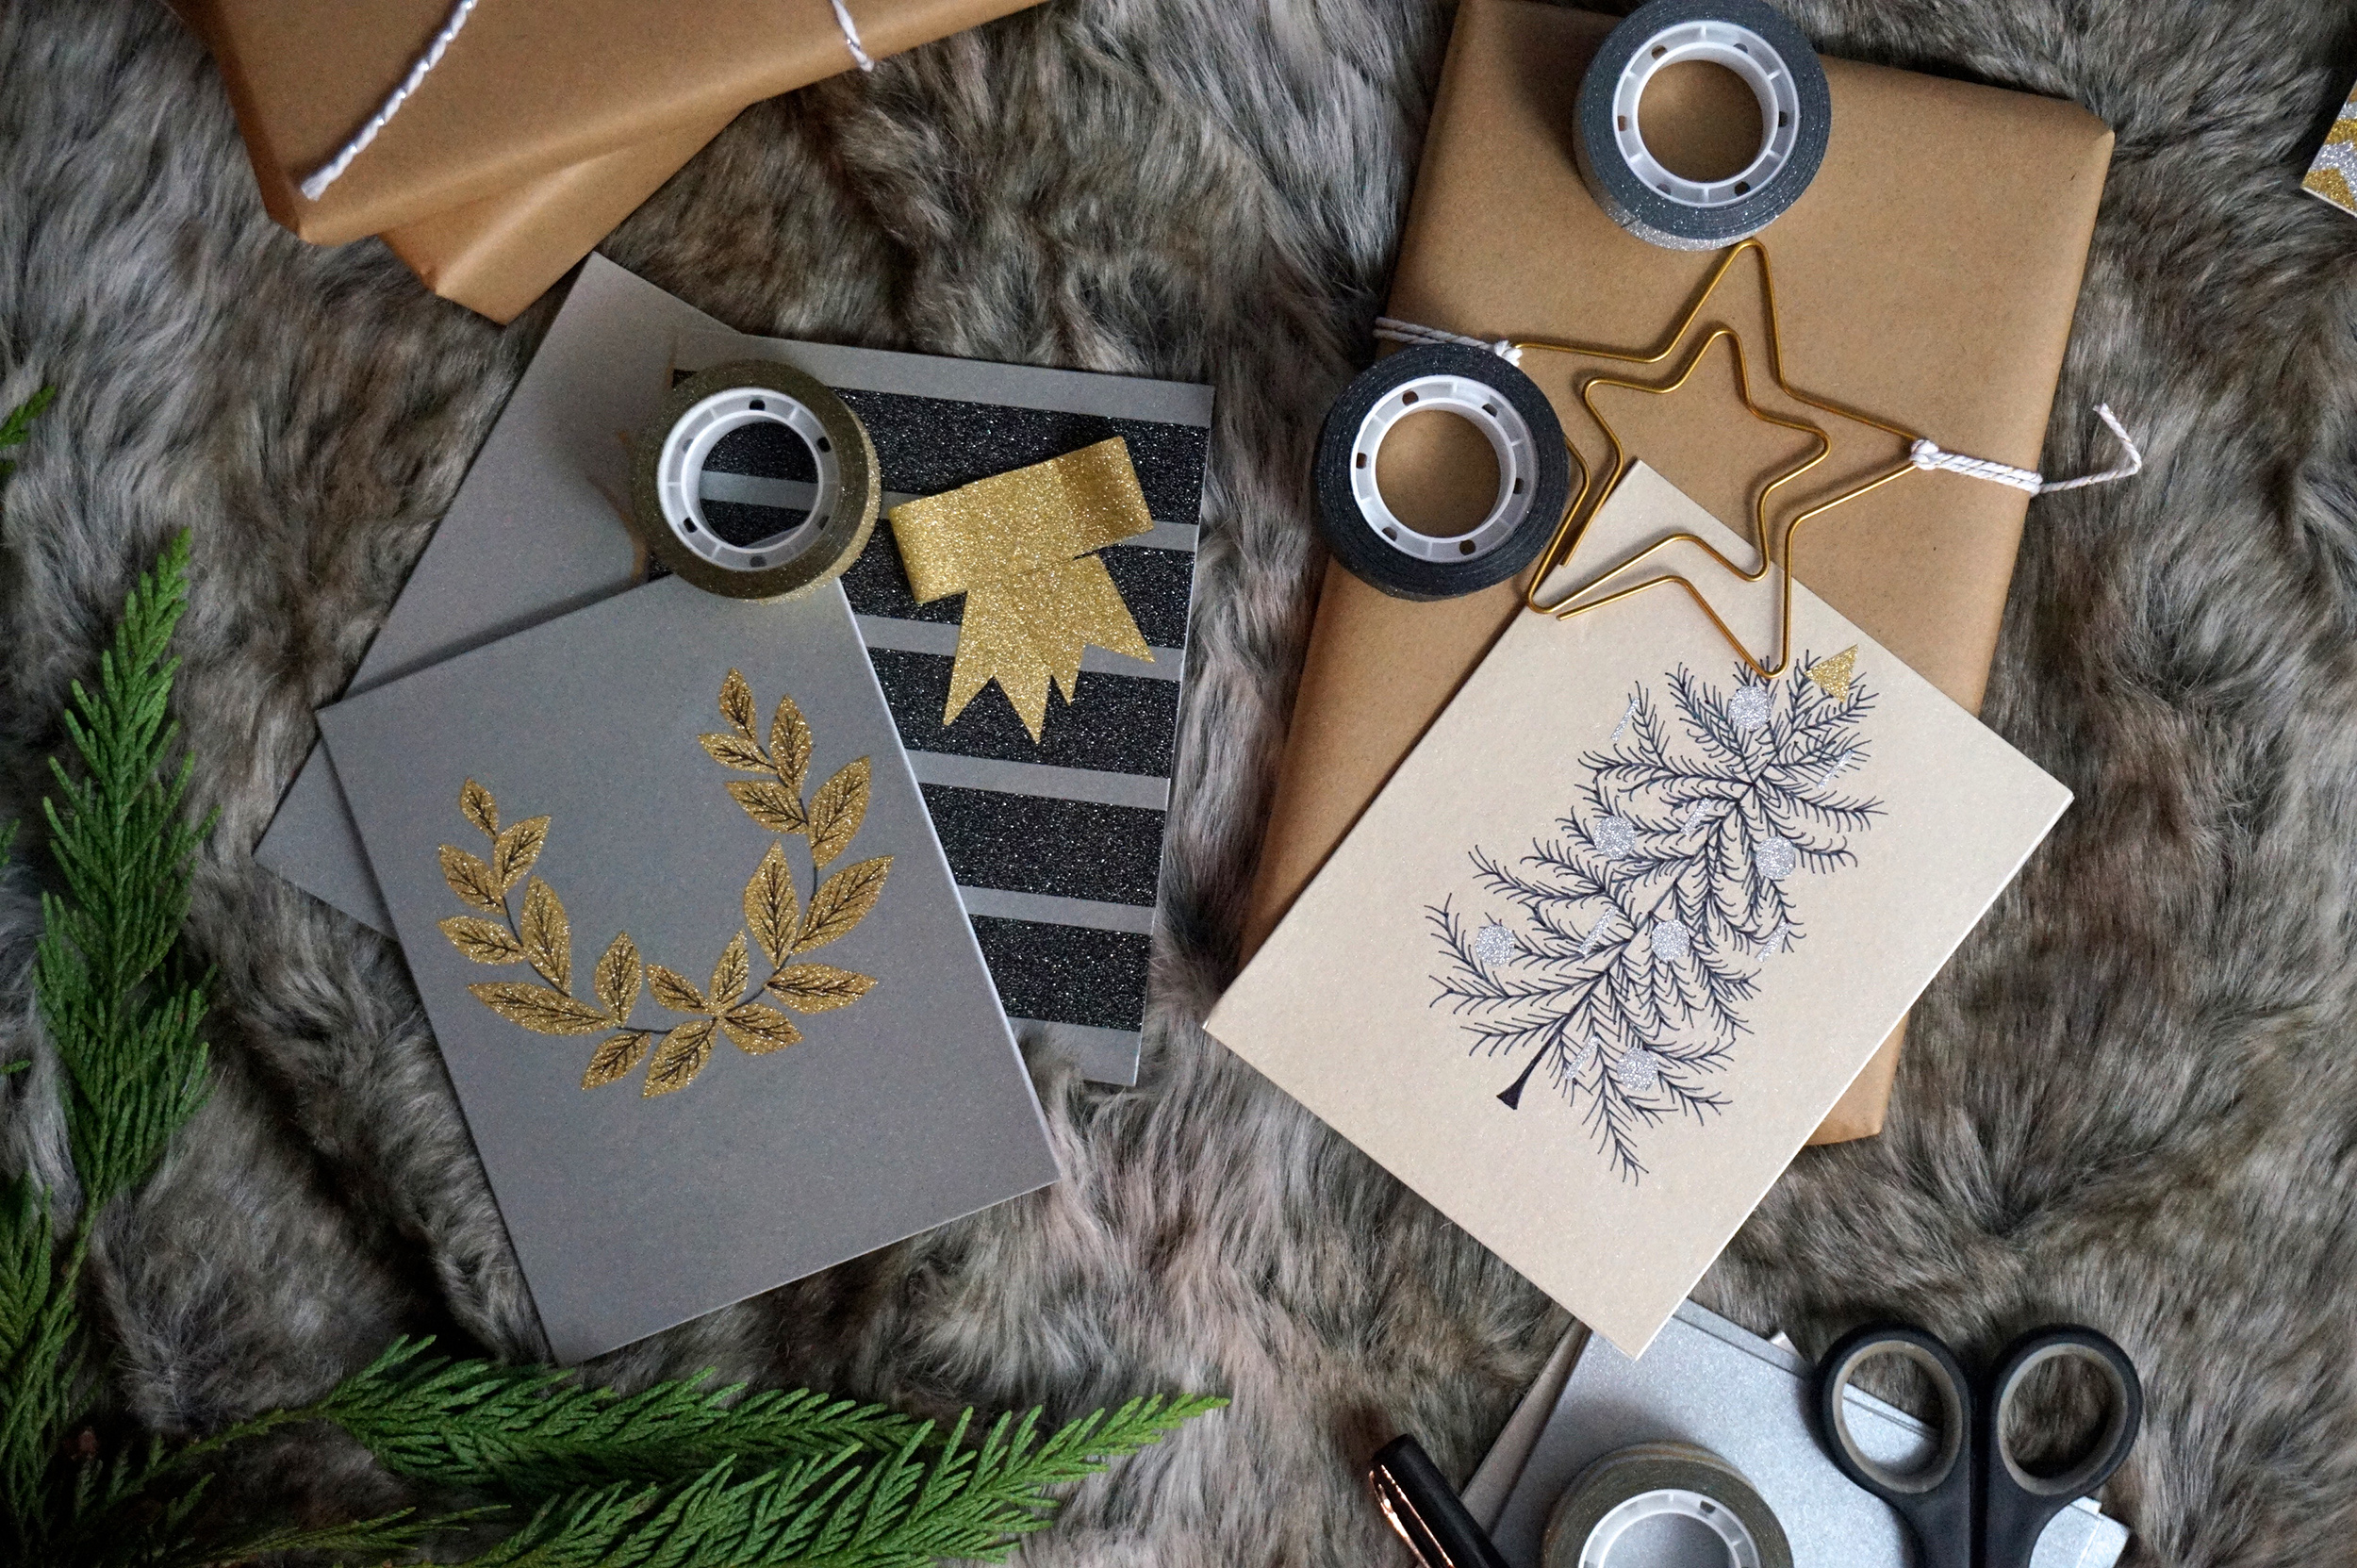
I am loving how these cards turned out, and the best part is, only a few tools are needed to create it:
- Seal-It Glitter Tape in Go for Gold and Starry Silver
- Scissors
- Blank Cards
- Black Sharpie
Directions:
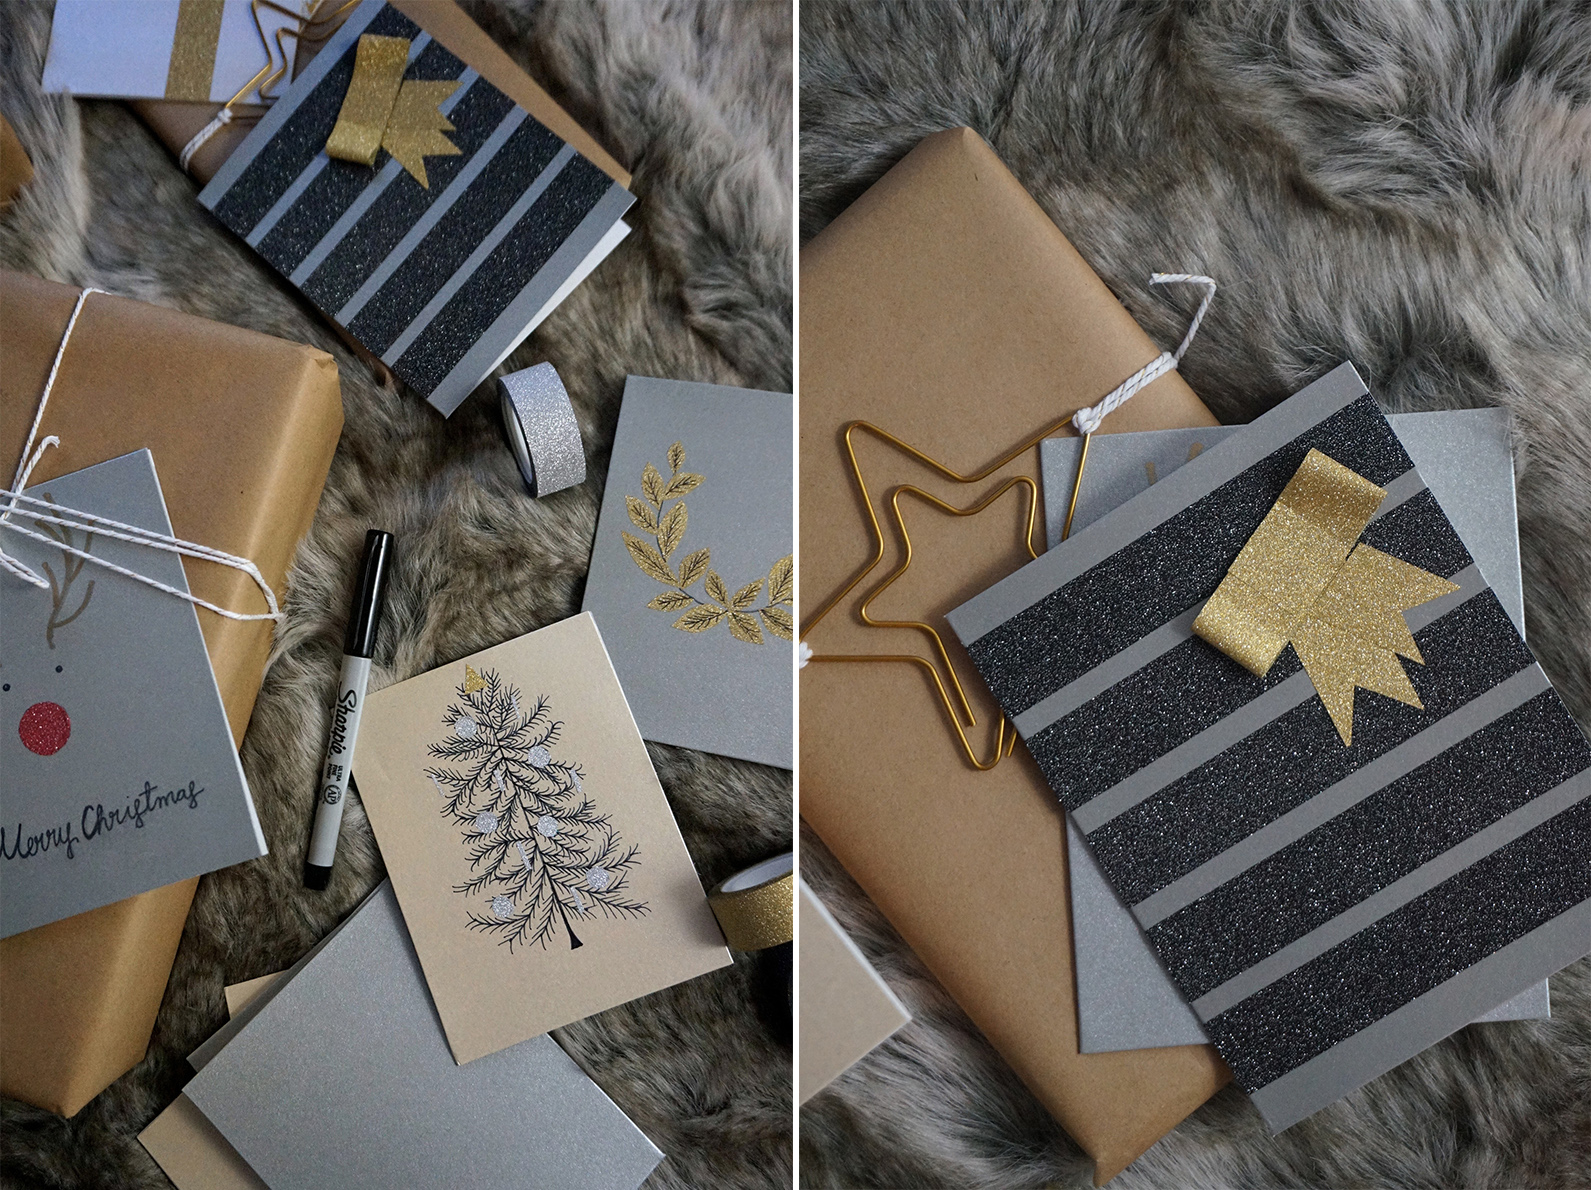
- Every design is different, but I used the glitter tape as an accent for the front of the card
- For the Christmas tree, I started with the tree design using a sharpie, and I used a hole punch to create circular Christmas bulbs
- For the Reindeer, I cut out a circle using scissors
- And for the wreath, I cut out leaf shapes and used a sharpie to draw the leaf details
I hope you loved this tutorial, and let me know in the comments below if you are giving it a try and what other glitter tape crafts you are loving! You can also purchase some Seal-It Glitter Tape online here with free shipping available for Canadian shoppers, and at Shoppers Drug Mart @2.99 per 2 pack and Sears @3.99 per 2 pack.
Happy DIY-ing!



 Follow


COMMENTS ARE OFF THIS POST