Take Your Food Photography to the Next Level
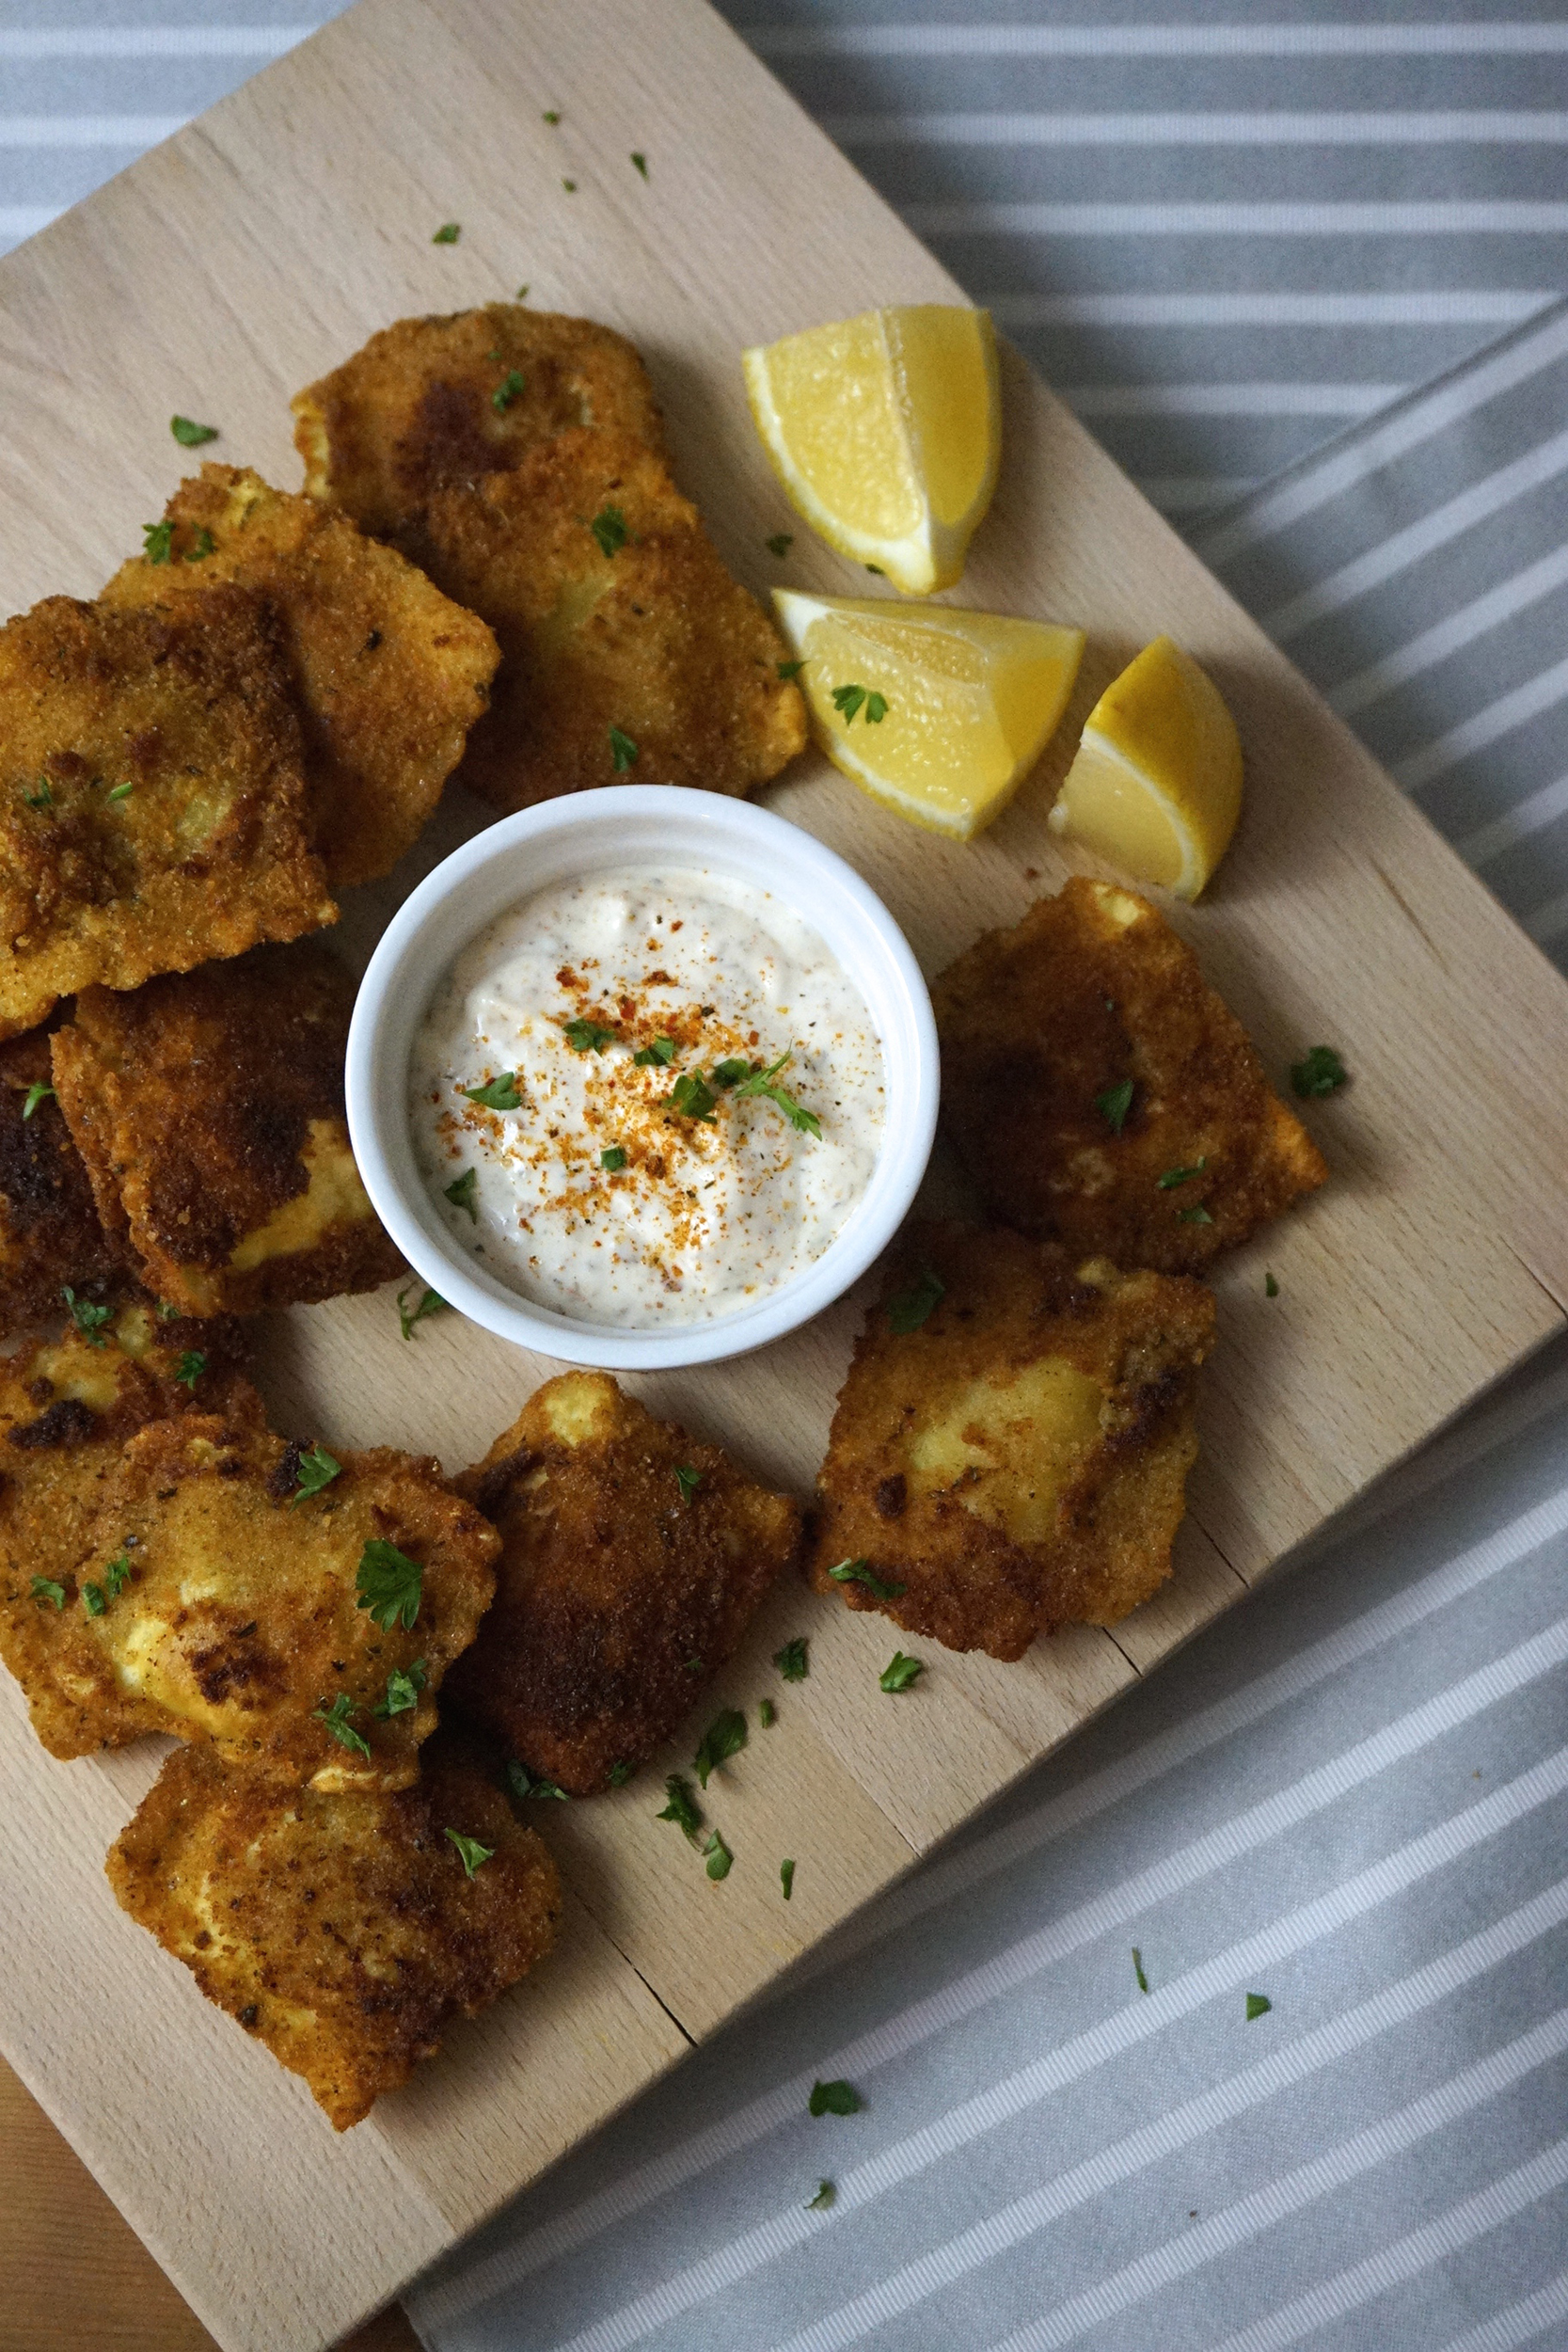
I don’t quite remember the exact moment when I noticed food photography become an actual “thing,” but the trend has been gradually taking over everyone’s social media pages over the last few years.
When done successfully, food photography is the easiest way to feel a rumble in your belly, and feel yourself salivating as you scroll through delicious recipes and dining experiences. It’s true that food truly brings people together, so it is only natural that food photography really generates conversation.
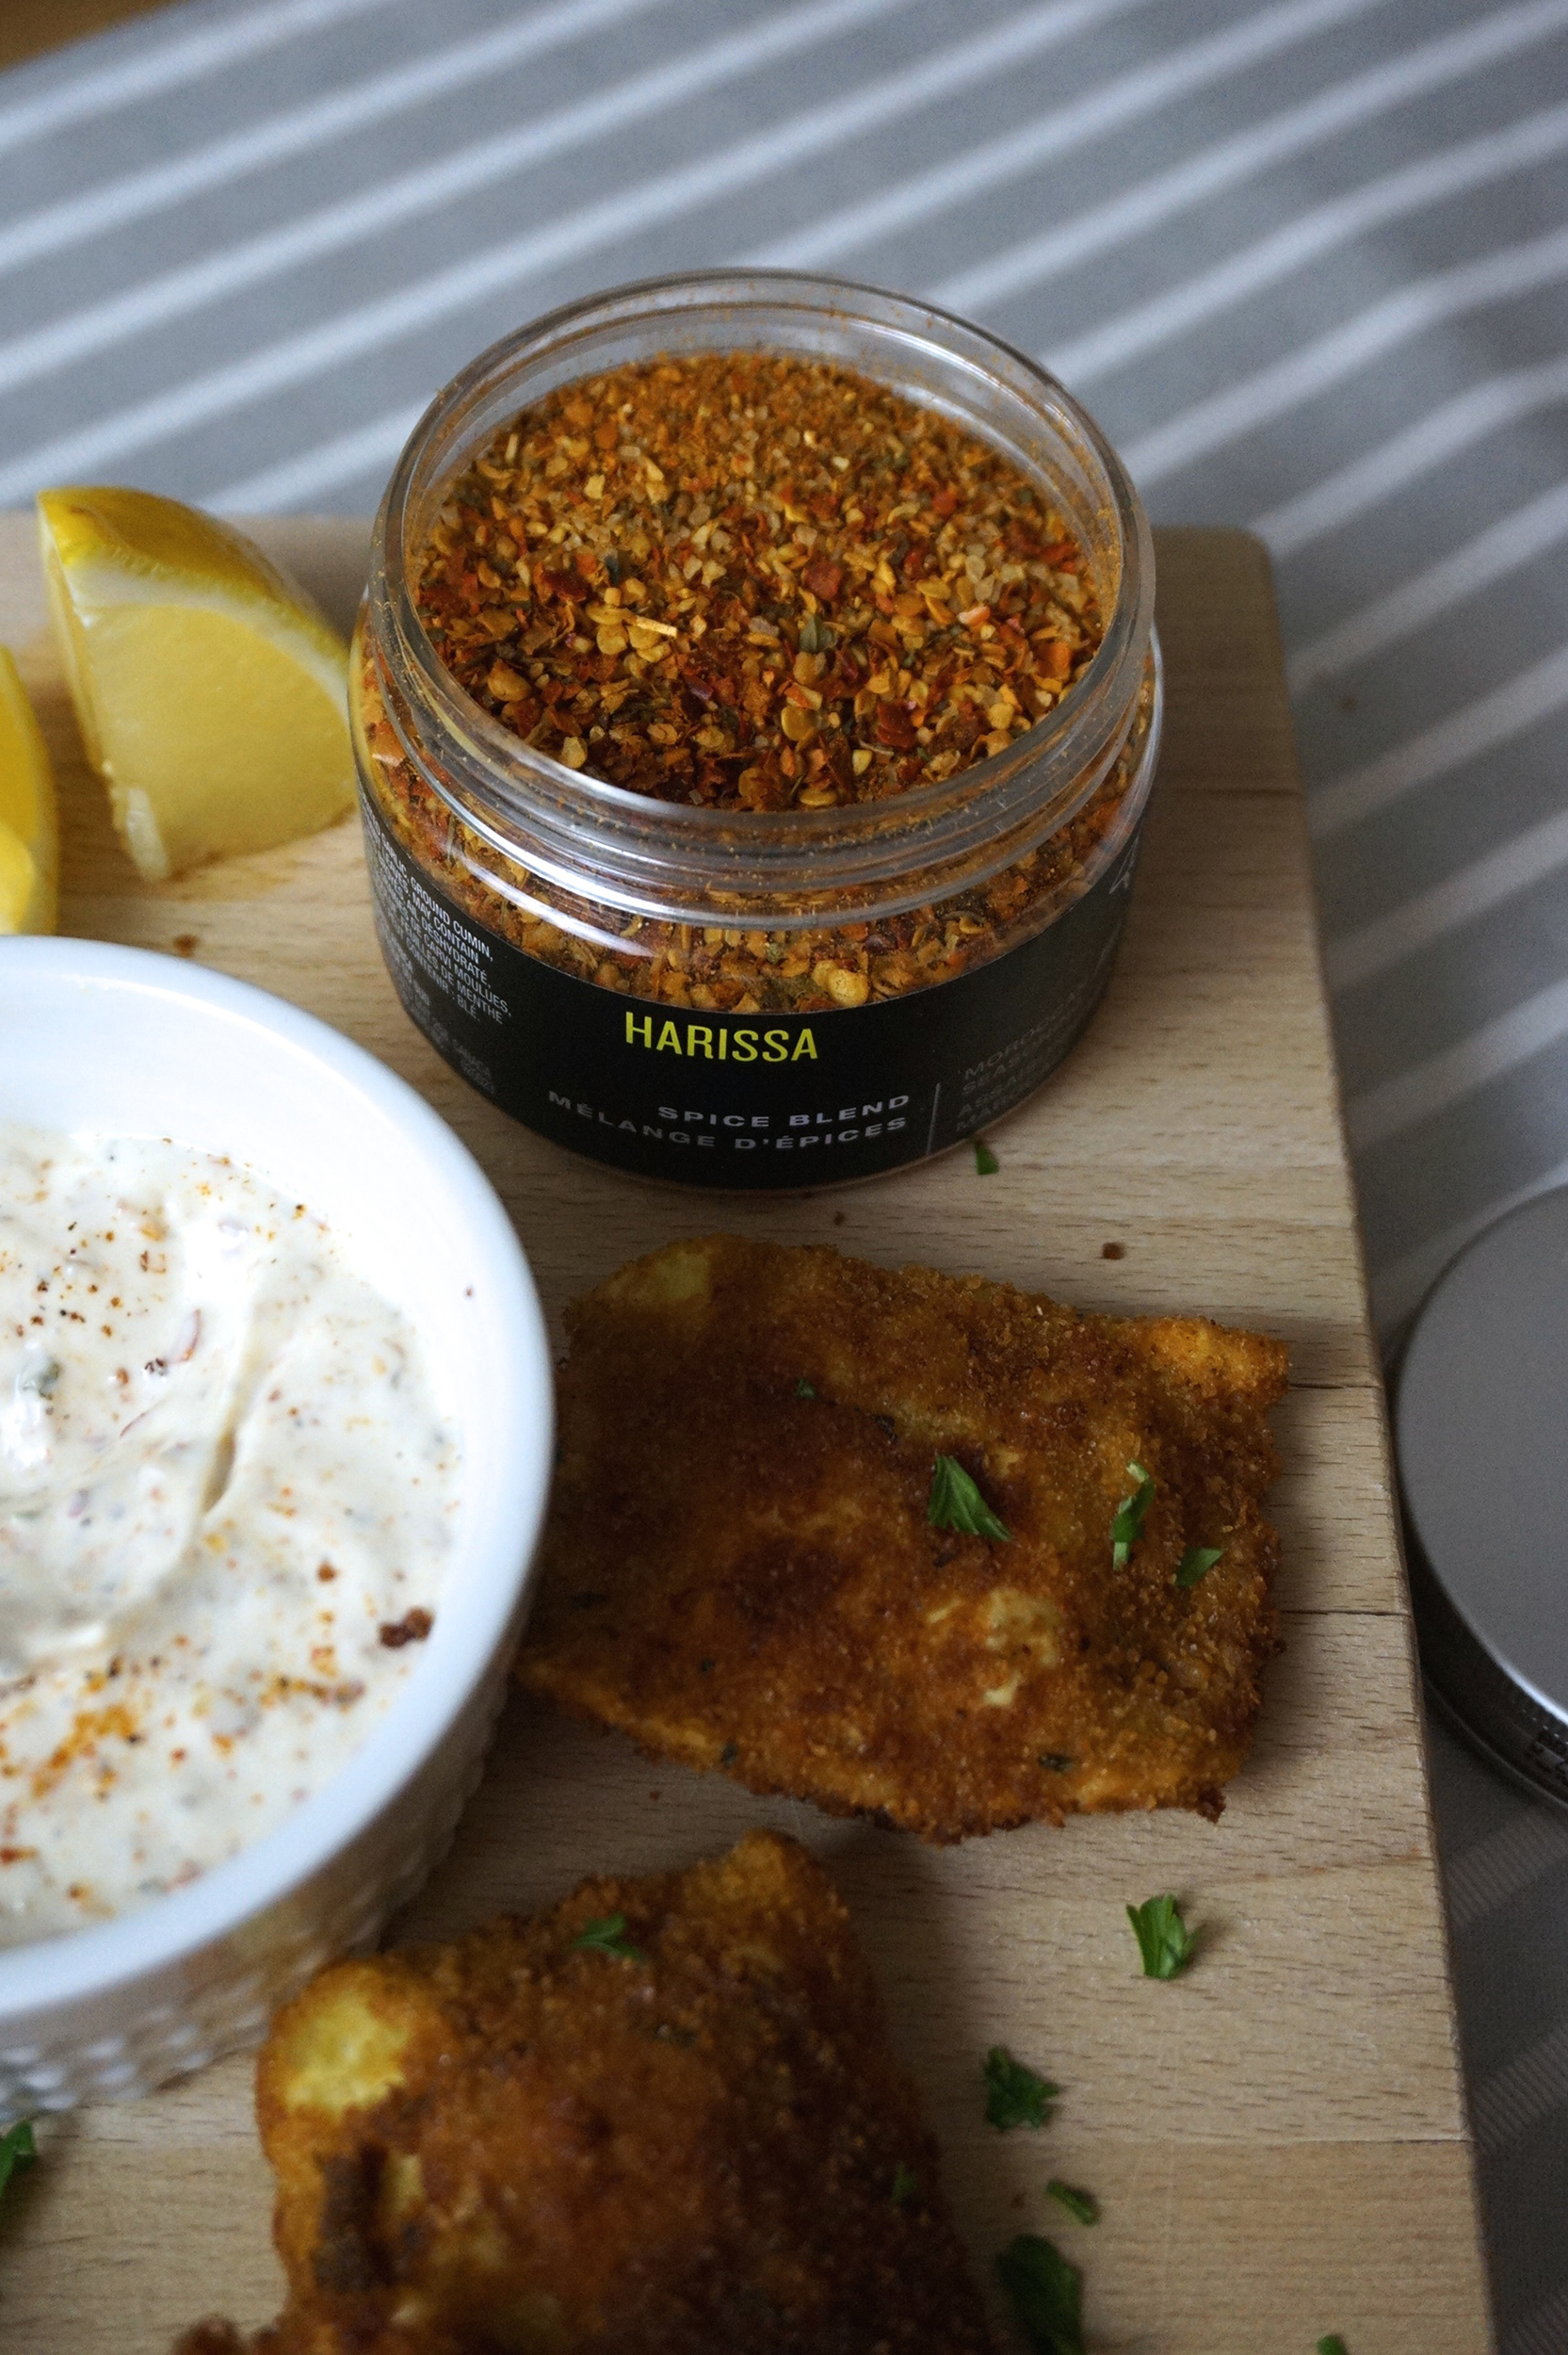
It isn’t quite rocket science, but there is definitely a science to it and there are a few tips that I am happy to share along with a delicious (and easy) recipe with the help of the President’s Choice Insiders Collection, using their Cauliflower Ravioli that I’ve been obsessed with lately!
- Lighting is Key
I’m sure you’ve heard this before, but truthfully, with good photography in general, lighting can really make or break a photo. With food having so many dimensions and so much depth, good lighting is needed to really see the details in all the food that you are shooting – even if it’s a simple cocktail or bowl of soup!
If I am out to eat, I am always requesting a seat by the window because natural light is the easiest way for me to find the right lighting that needs no help. When I am at home shooting food for the blog (like this post) I use my large window for bright light.
Note: If you are shooting with natural light, keep in mind that bird’s eye view shots are great for this, but if you are working with angles, be sure to angle your shot from the direct light or you will be battling shadows!
- Get Creative with Styling
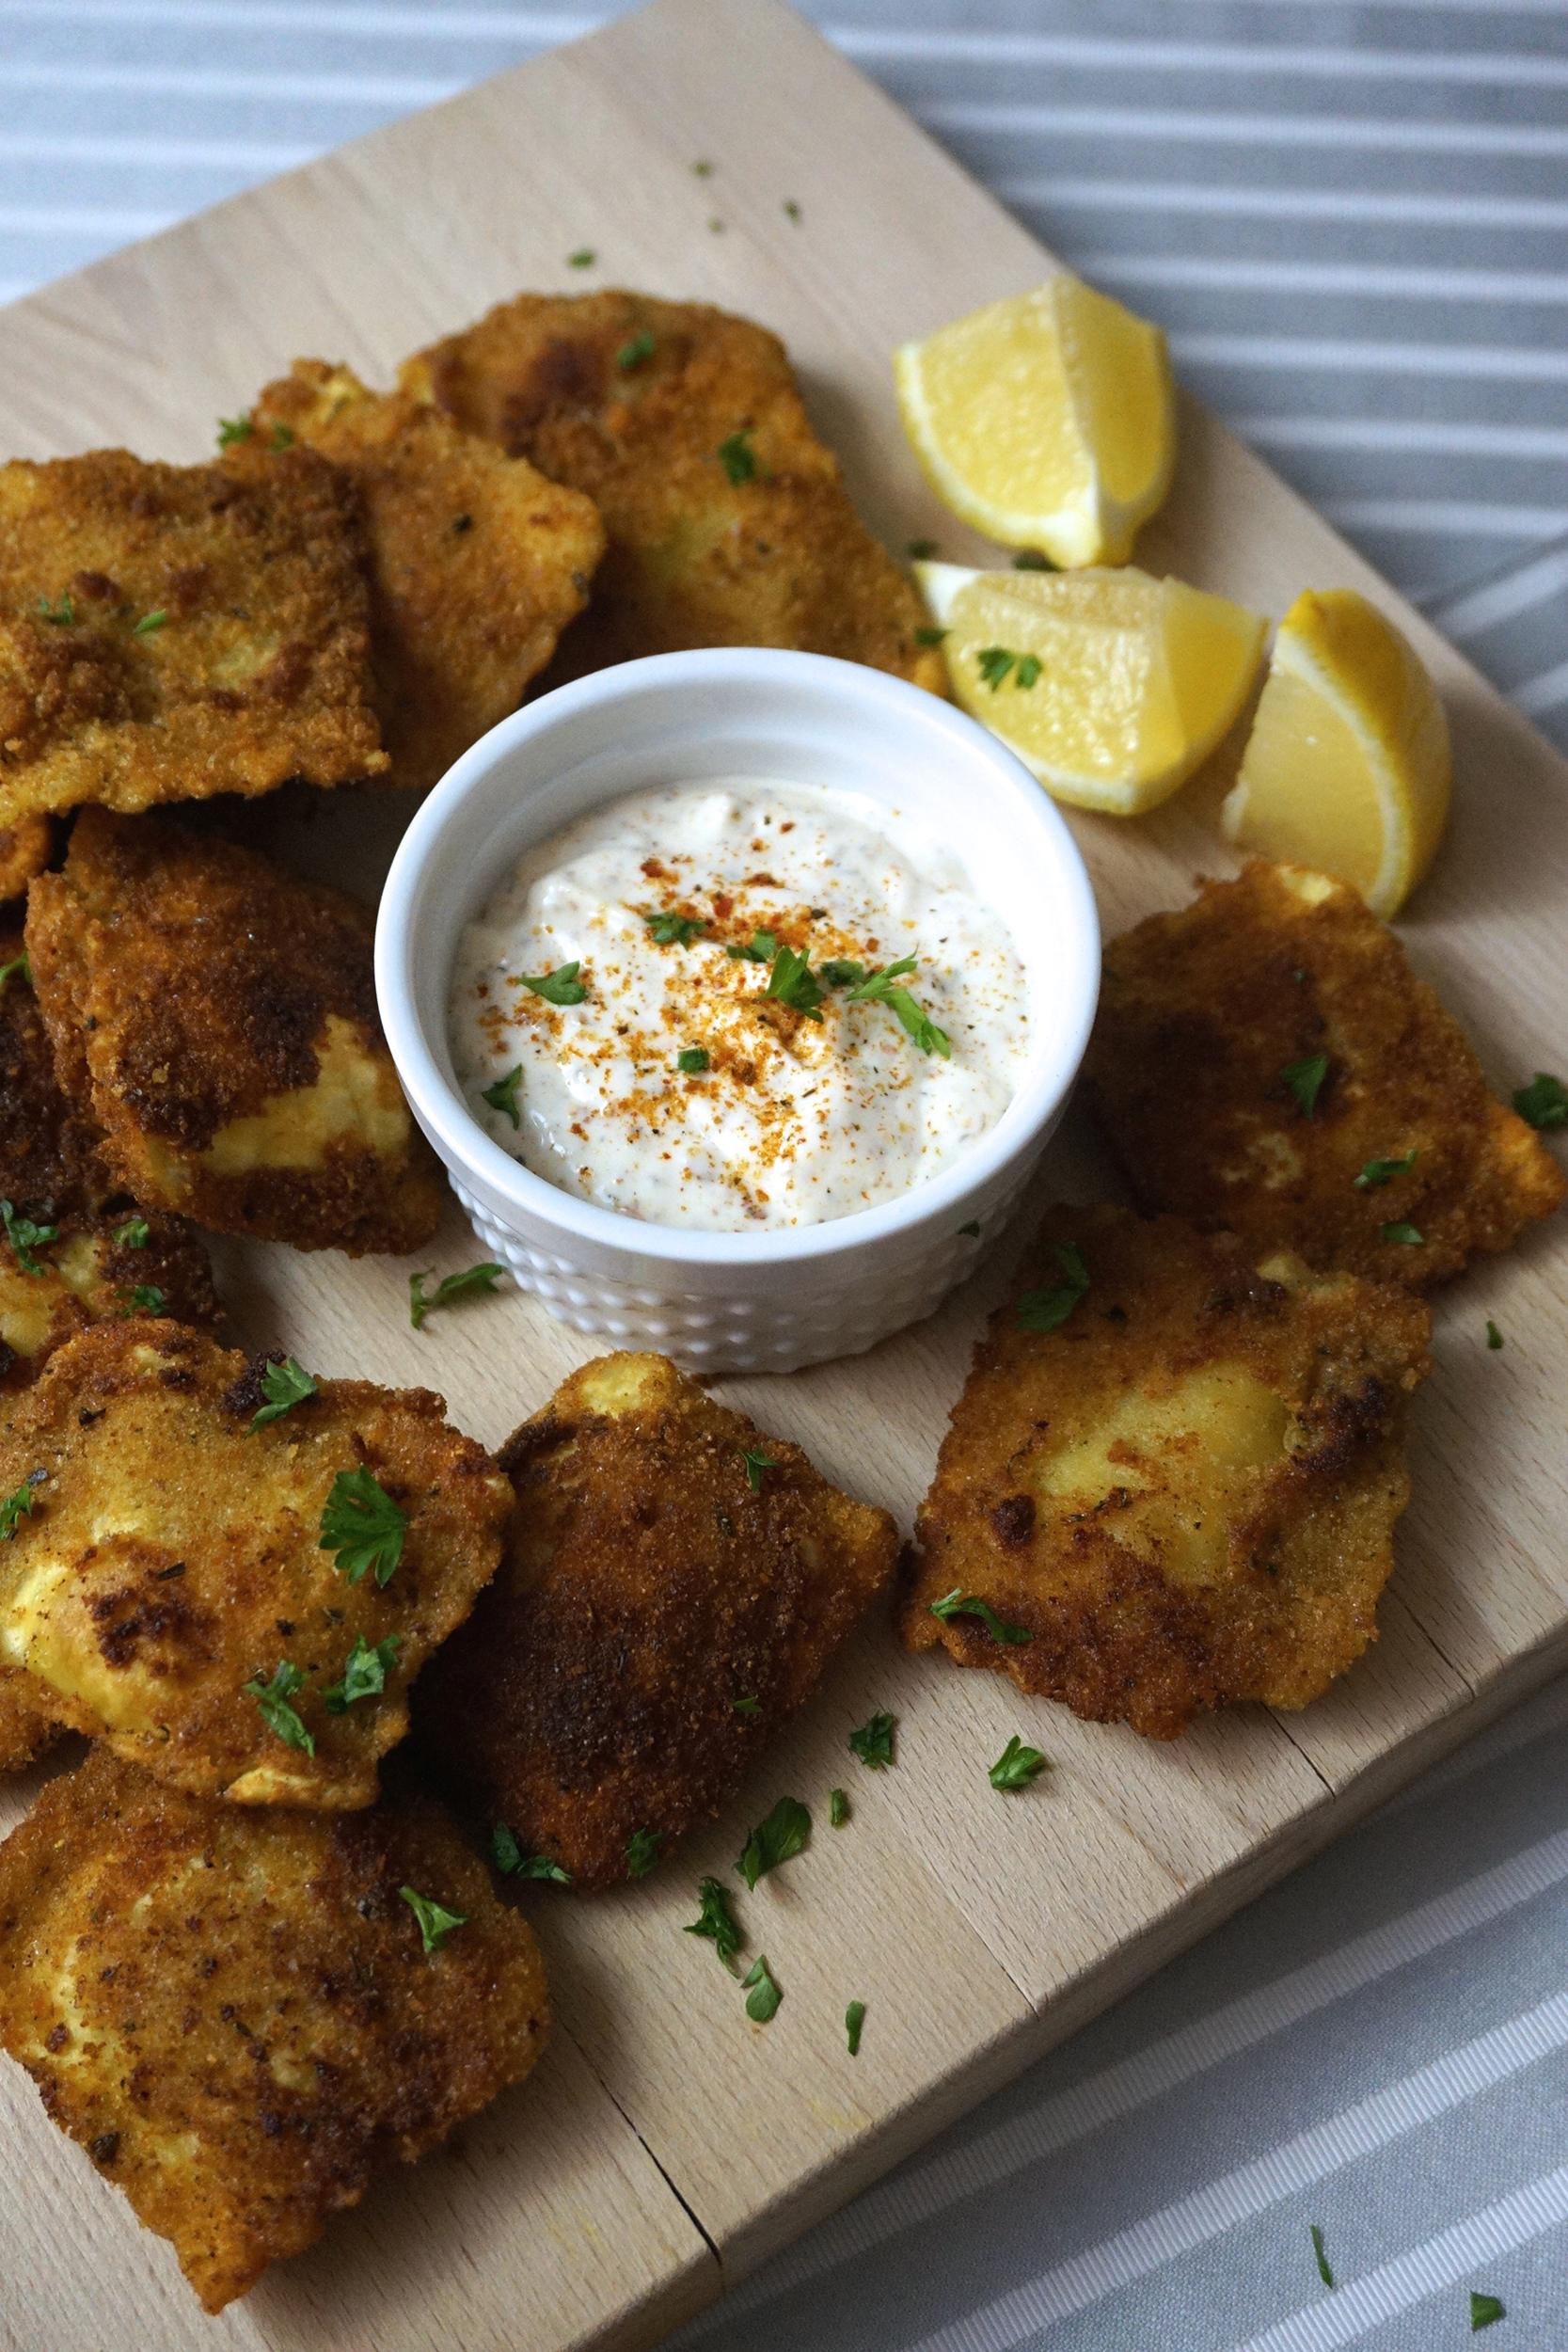
Regardless of whether you are shooting food for work or play, the point is to have fun! Use your photography experience to get creative and present your food or drink in a different way than you would normally. Unless you are going for a very clean and simple image, add props to fill the space within the photo or use a fun background to make the food stand out. Like marble but don’t have it at home? Pick up marble contact paper and use that as your background. At a café and enjoying a latte? Use what items you have with you to fill the photo like your glasses, wallet, bag – the options are endless!
When all else fails, get your hand in there to create a real-life food shot as you enjoy it!
- Angles are Everything
The bird’s eye view angle has become very popular on Instagram, but you can really shoot at any angle you prefer. Think of what food you are shooting and what you are really showcasing. You can also go for a wide shot so you get the food, props or menu or you can zoom in close and get all those beautiful details! Get on Instagram or Pinterest and get inspired to think outside the box and indulge in all that food photography has to offer.
Inspiration is everywhere!
- Quality
I am a firm believer that the quality of your lens is the most important thing when taking photos – and food photos especially.
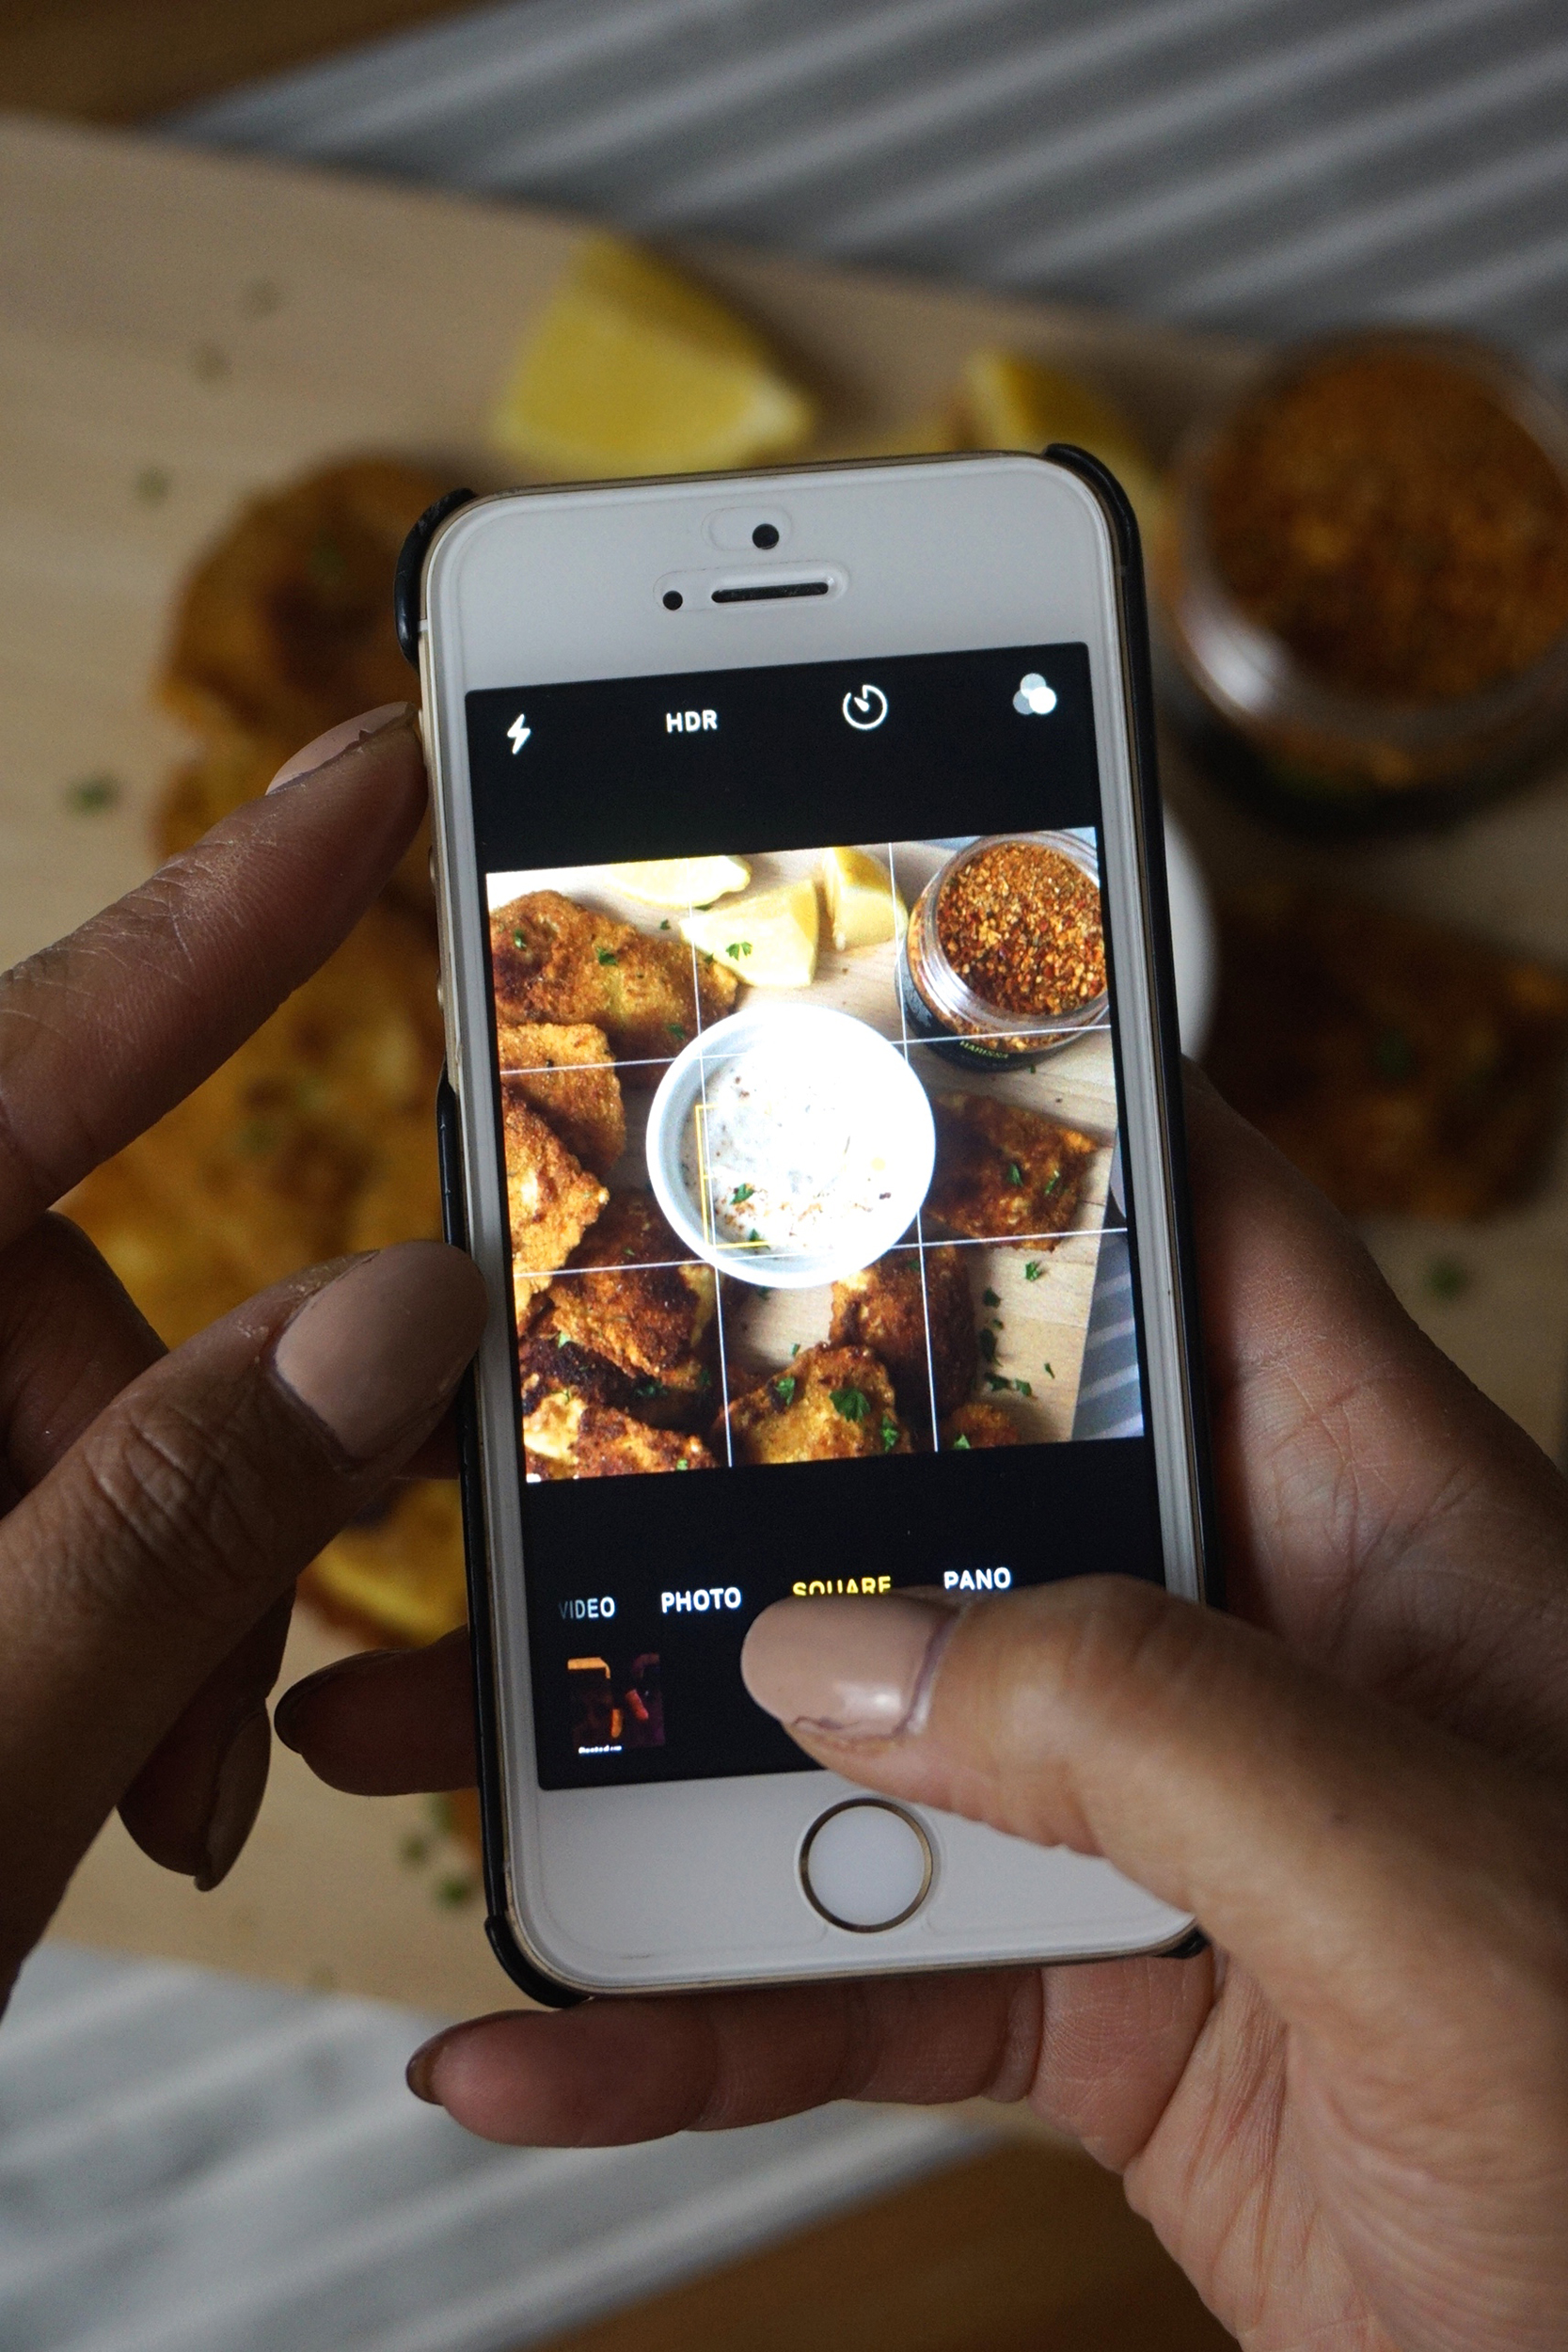
Working with President’s Choice, I was lucky enough to get a little lesson on what The Mobile Shop has to offer, and it was amazing to see how many options there are for phones and plans. I am currently on a terrible plan with my phone with not enough space, so I will be popping in to fix all that since The Mobile Shop offers the chance to set up a contract directly in your local Loblaws with Canadian carriers. I have an iPhone, which they carry, but there are so many phones out there that offer amazing resolution, so you don’t need to carry an SLR to get the perfect shot!
Using your phone to take food shots definitely takes food photography on-the-go to another level! You can also use apps like Snapseed to edit your photos without losing resolution if the photo is lacking in light or you prefer to change the colour composition of the shot.
- Work Quickly
I can’t tell you how often I cook up recipes for the blog and I let my pickiness distract me from just taking the shot quickly. I remember sprinkling a garnish on a recipe and before I knew it, the dish just looked sloppy and melted. The key is to think fast because food doesn’t always look presentable as time goes on. Also, when you’re out dining, try not to be that person inconveniencing other diners just so you can take a “pretty shot.” Don’t be fast with your shots, but instead, be efficient. Think about what you want to accomplish and plan!
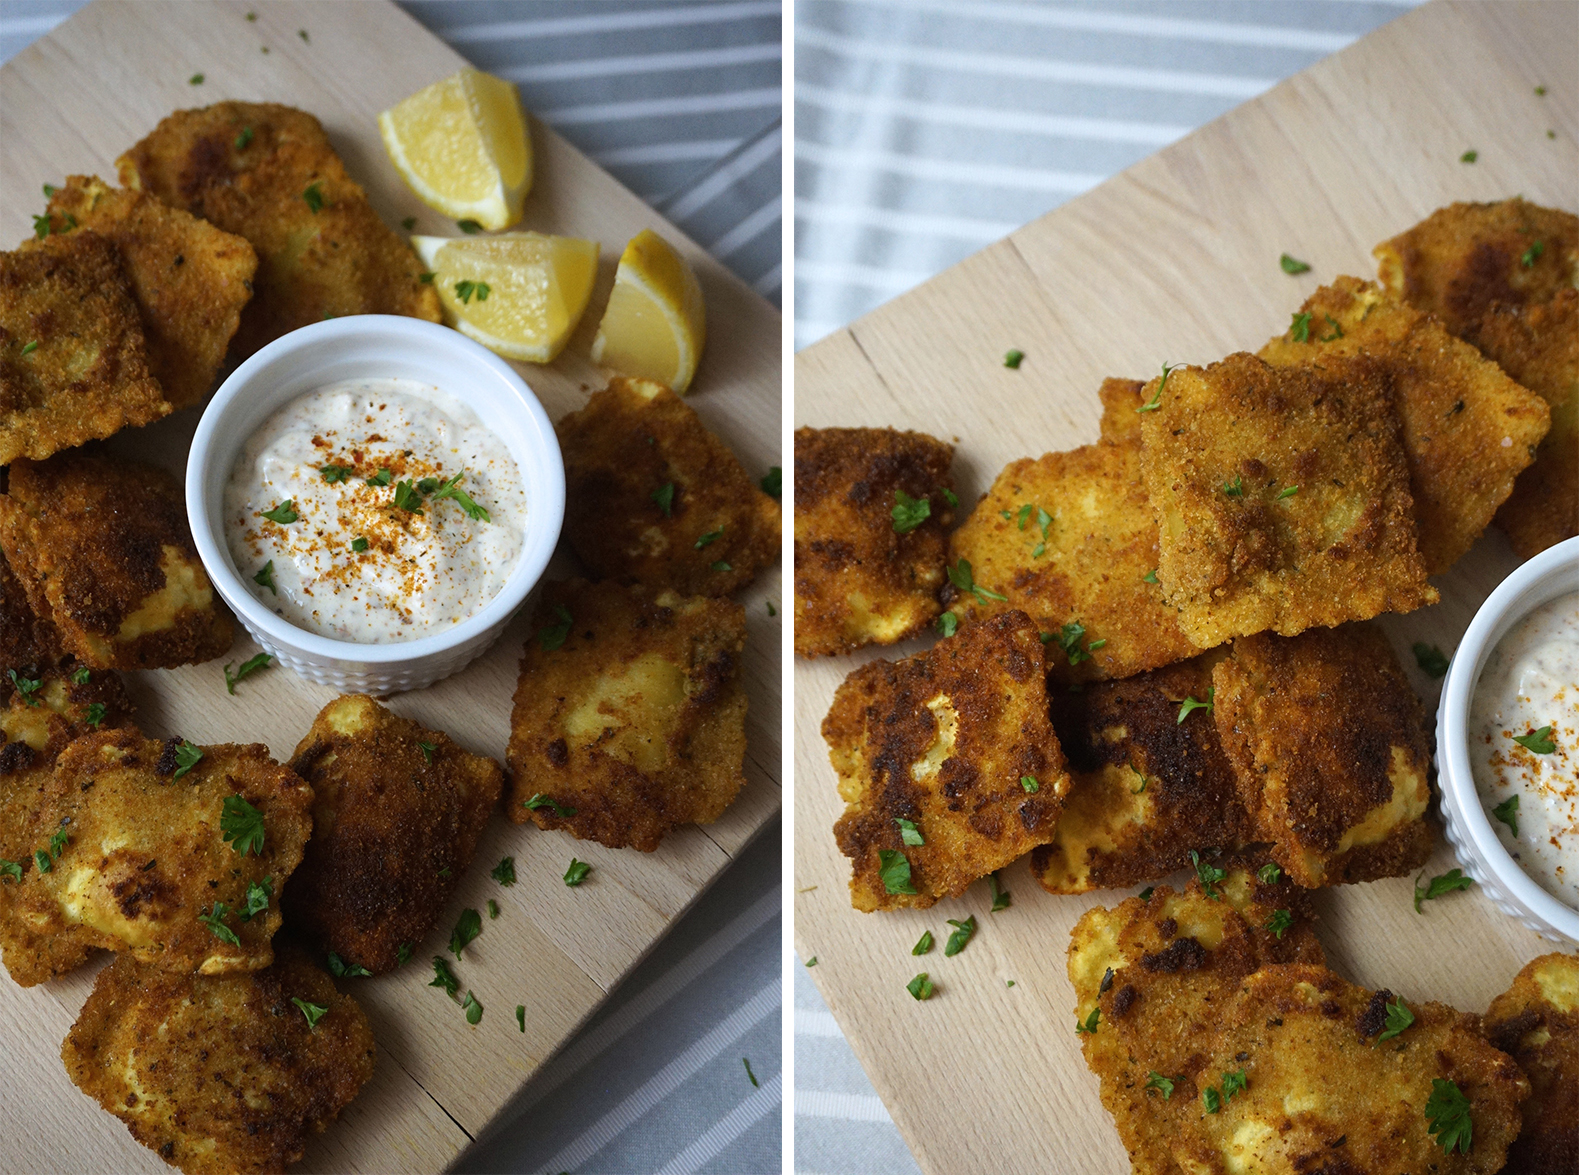
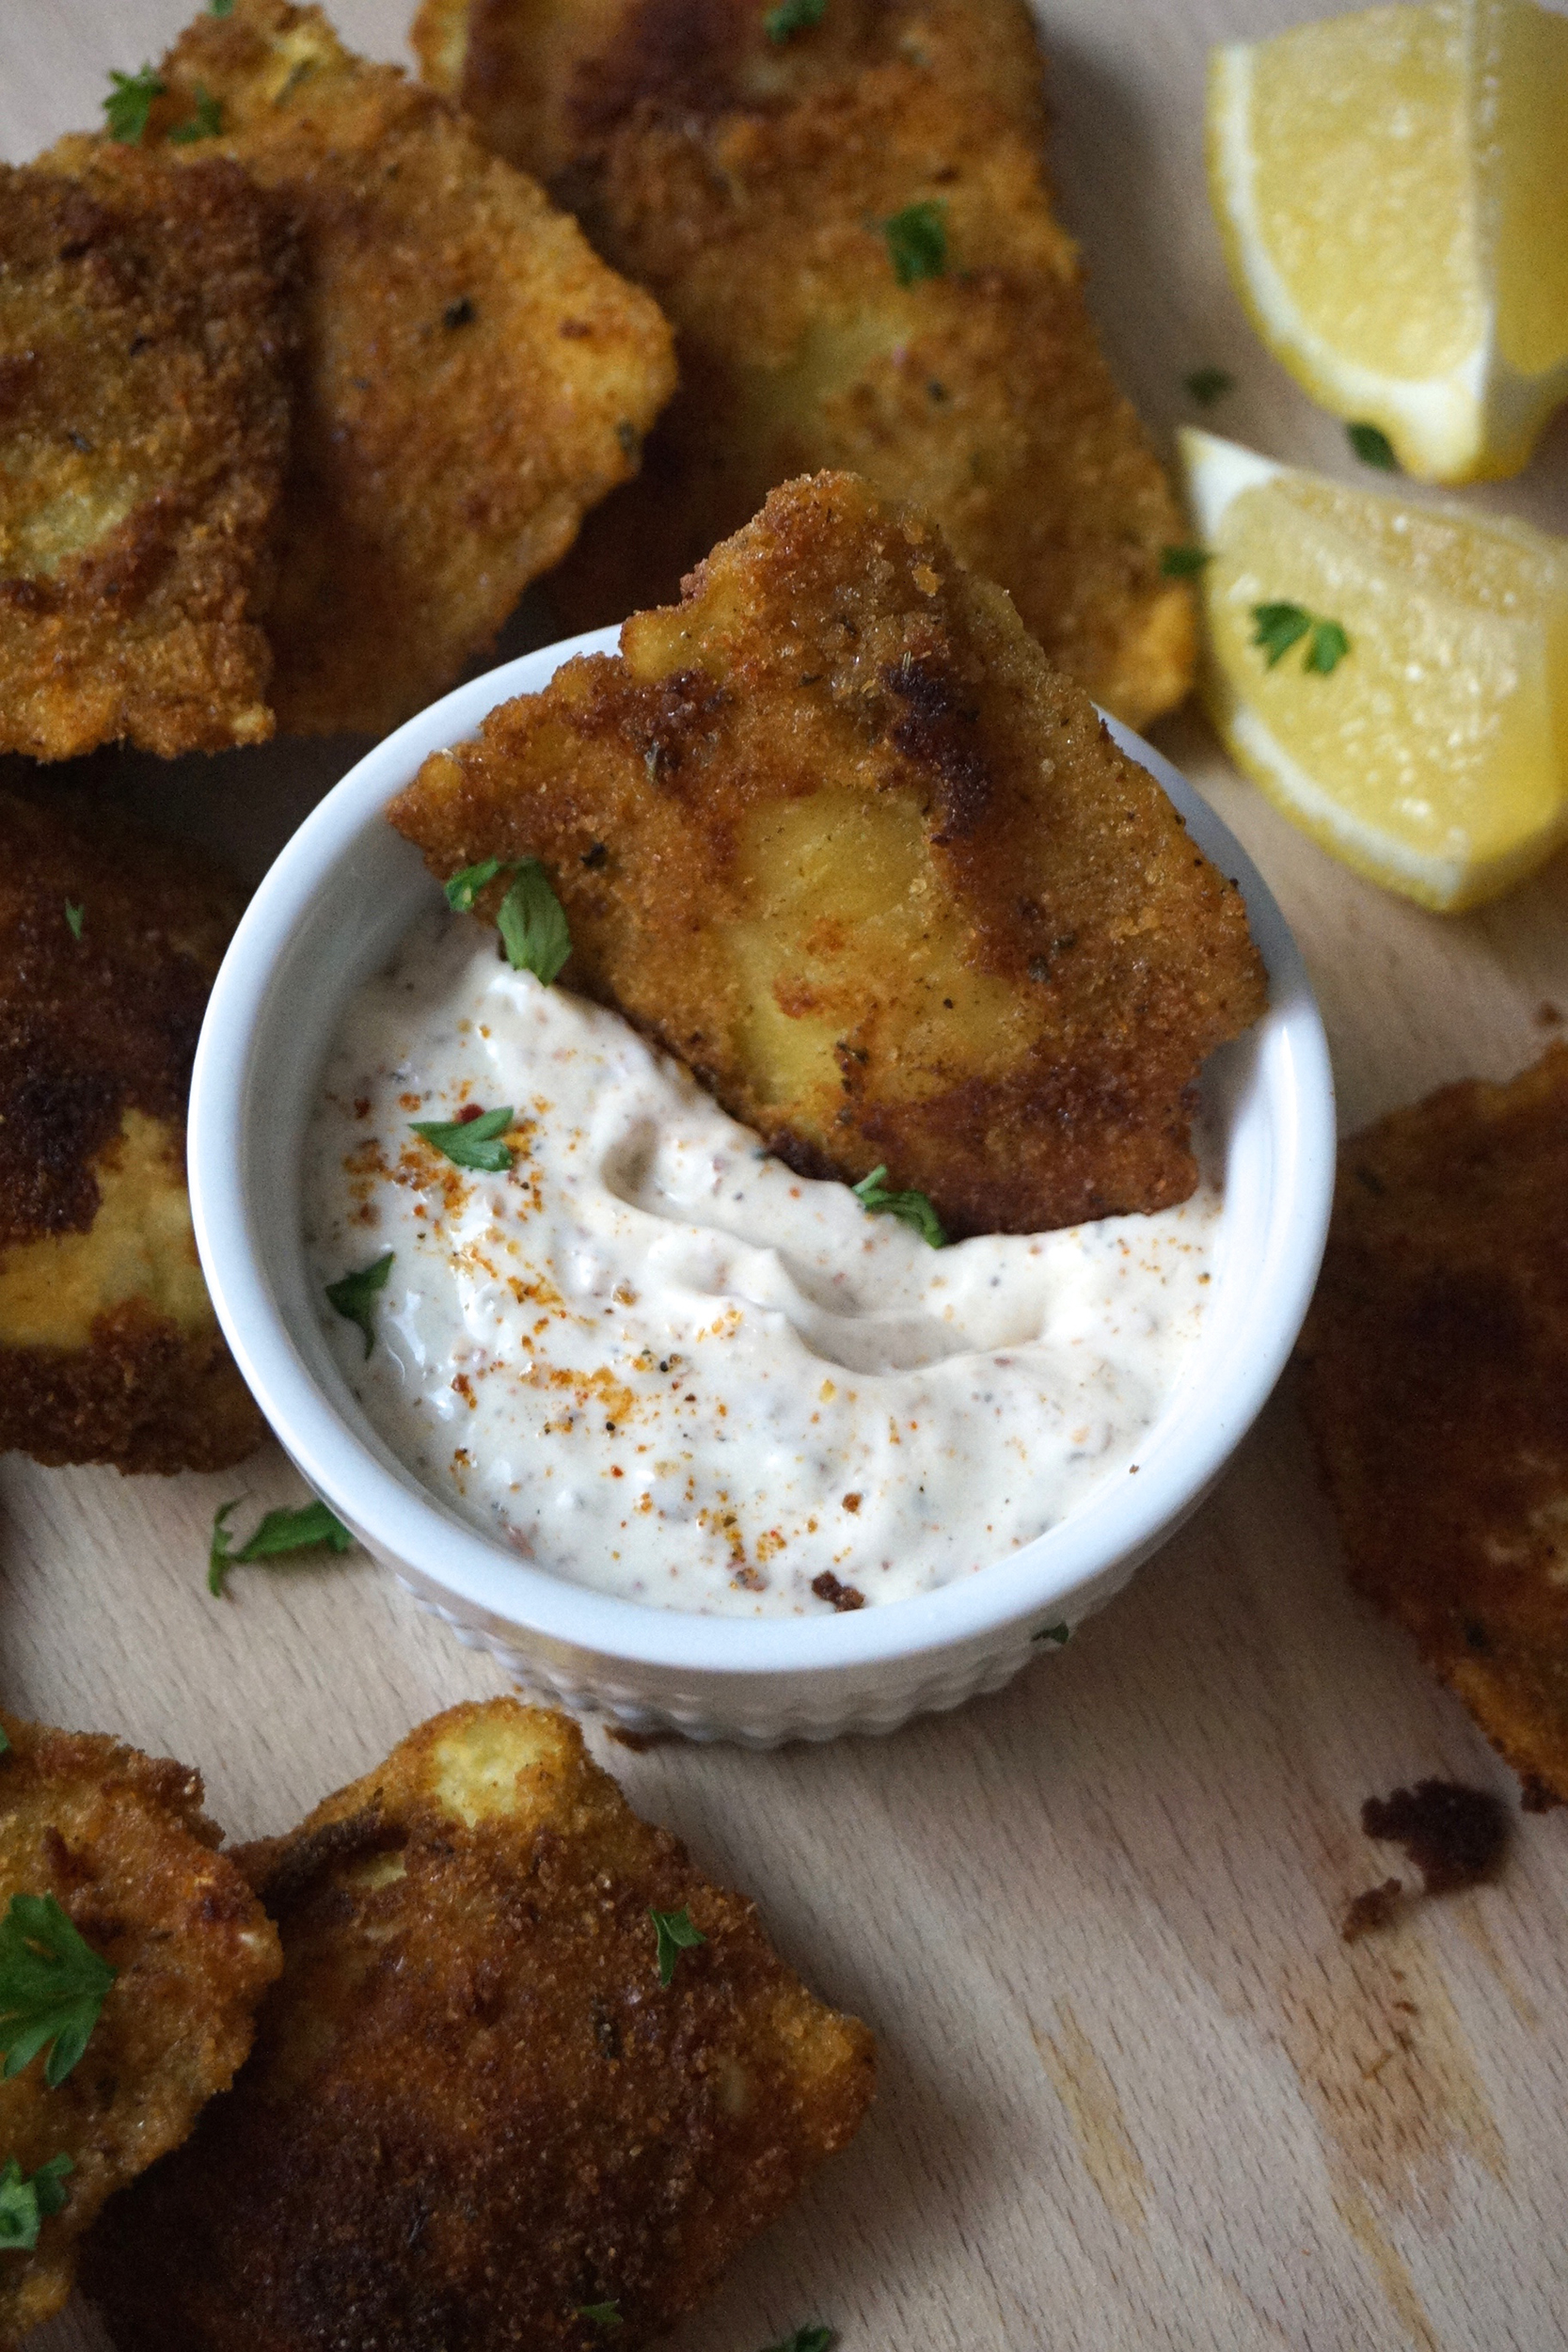
Crispy Fried Cauliflower Ravioli with Creamy Harissa Sauce
Rather than sticking to pasta, I love this creative recipe that takes ravioli and turns it into a yummy appetizer that you can share with friends and loved ones.
Ingredients
- 1/4 cup (50 mL) PC Mayonnaise
- 1/4 cup (50 mL) sour cream
- 1 tsp (5 mL) finely grated lemon zest
- 1 tbsp (15 mL) fresh lemon juice
- 1 tsp (5 mL) PC BLACK LABEL HARISSA SPICE BLEND
- 4 cups (1 L) canola oil
1 large egg - 1/3 cup (75 mL) buttermilk
- 1/2 cup (125 mL) all-purpose flour
- 1 cup (250 mL) Italian seasoned bread crumbs
- 1 pkg (350 g) PC Roasted Cauliflower Ravioli Traditional Italian Filled Egg Pasta
- 1/4 cup (50 mL) finely grated PC Splendido Parmigiano Reggiano Cheese
- 2 tbsp (25 mL) chopped fresh parsley
Instructions
- Stir together mayonnaise, sour cream, lemon zest, lemon juice and spice blend in small bowl. Cover and chill until ready to serve.
- Heat oil in deep large saucepan over medium heat until deep fry thermometer reads 350˚F (180˚C). Line one baking sheet with parchment paper and one with paper towel.
- Meanwhile, beat together egg and buttermilk in bowl. Place flour in another bowl and breadcrumbs in a third bowl. A few at a time, toss ravioli in flour, shaking off excess. Coat each in egg mixture, then coat in breadcrumbs. Place on parchment paper-lined baking sheet.
- Fry ravioli, about 6 at a time, 2 to 3 minutes, turning gently once or twice to brown evenly, or until golden. Remove with slotted spoon; drain on paper towel-lined baking sheet.
- Transfer ravioli to serving platter. Stir together cheese and parsley; sprinkle over ravioli. Serve with harissa dipping sauce.
This post was sponsored as part of a program with President’s Choice®. All opinions are my own.


 Follow


COMMENTS ARE OFF THIS POST